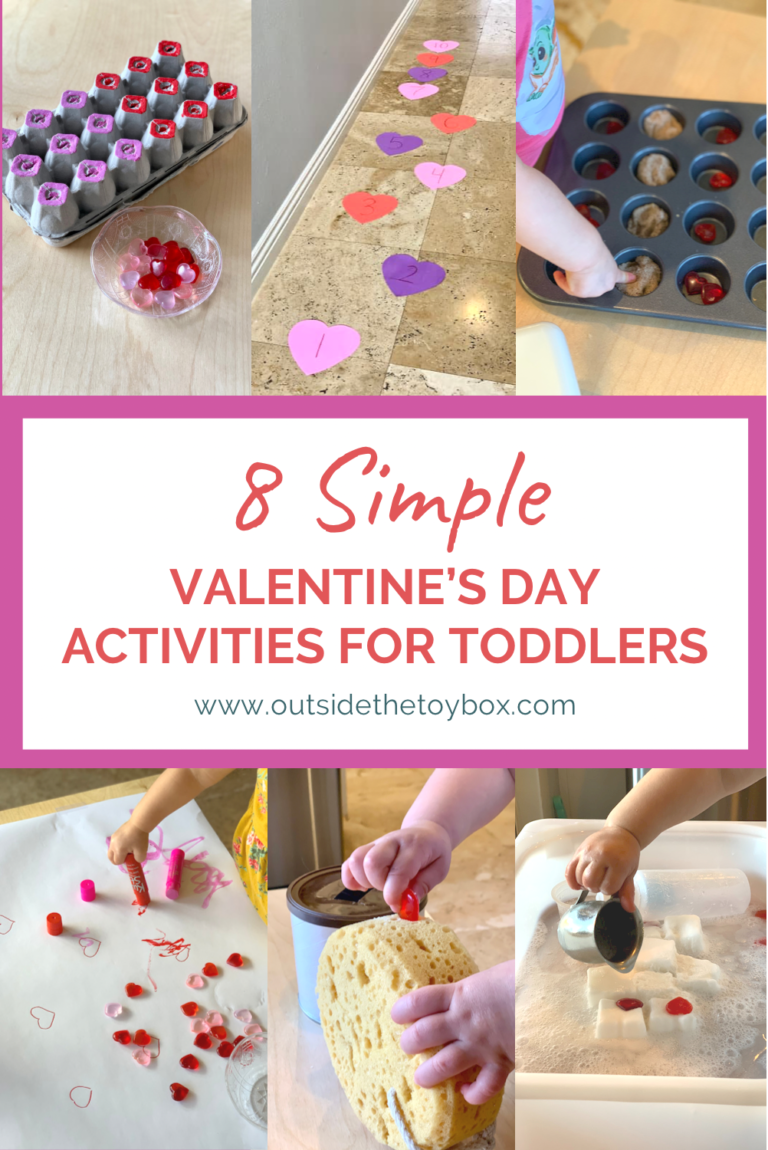
As Valentine’s Day approaches, I thought I would share some super easy, very low or no prep Valentine’s Day activities for toddlers and preschoolers.
It might come as a surprise to you, but I honestly don’t really like Valentine’s Day (which Chris is really happy about). It might be the fact that my birthday comes only 4 days before Valentine’s day or it might just be because I’m not into the mushy lovey dovey type of stuff.
But just because I don’t like Valentine’s Day doesn’t mean I hate fun. I love a good themed play idea and bonus points if it is super simple.
We tested all of these ideas and if I can do it with a newborn and a toddler, then you can definitely do it too. Most of these ideas I prepped in 5 minutes or less, which is a good rule of thumb for setting up an activity for a toddler. Their attention span is about 5 minutes or less so why spend more time setting it up than they are actually going to spend playing?
Each activity includes a short description, tips and how it went, and materials. Activities include some small parts so only do them if you feel comfortable and always supervise your toddler while they play.
Disclosure: This post may contain affiliate links, which means we may receive a commission if you click a link and purchase something that we have recommended. As an Amazon Associate, I earn from qualifying purchases. While clicking these links won’t cost you any extra money, they will help us keep this site up and running! Please check out our disclosure policy for more details.
Heart Match and Trace
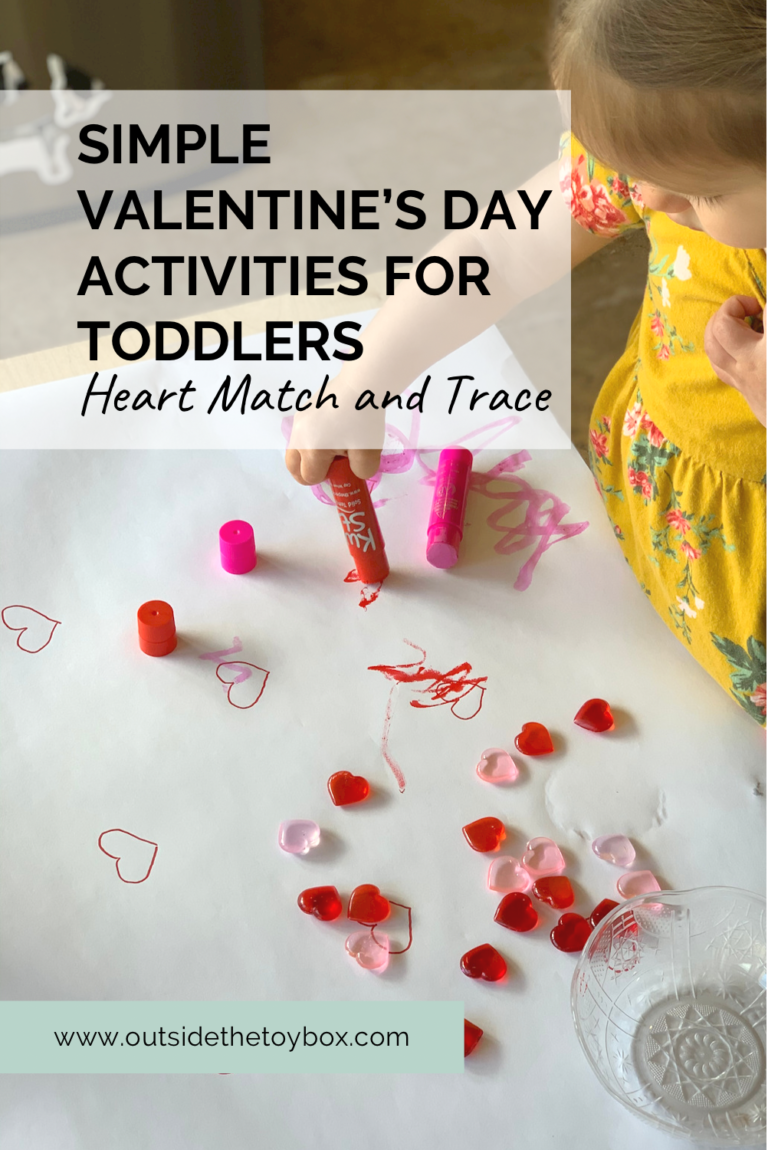
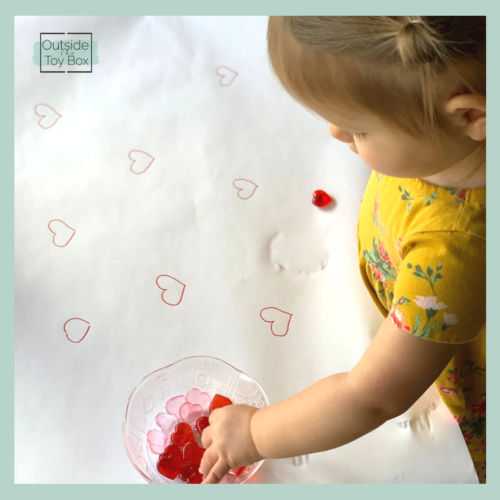
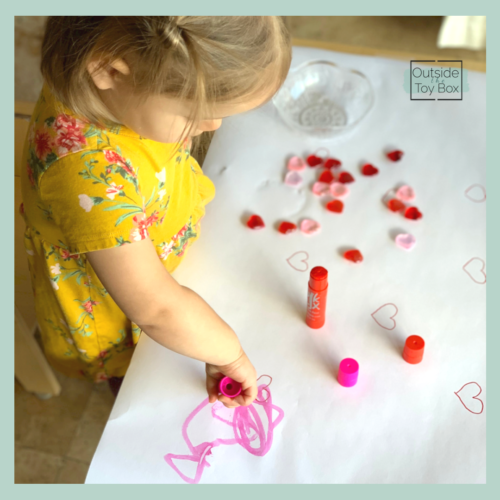
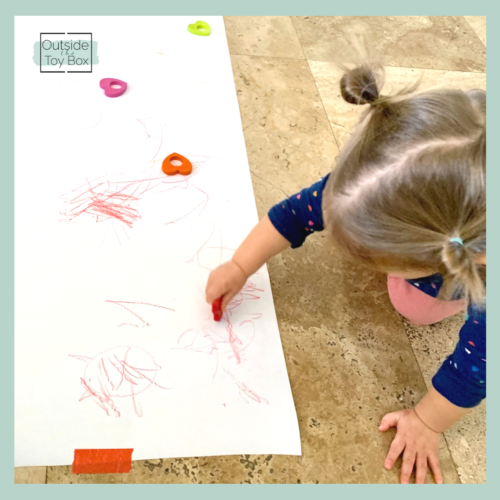
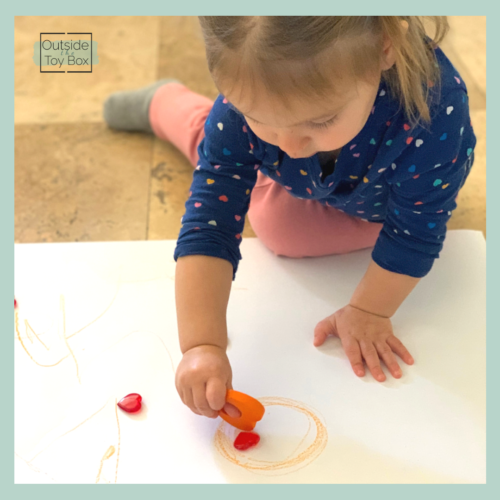
I honestly first set this up as a simple provocation to match the hearts to hearts drawn on paper. Ruby (18 months) found that idea a little too boring. She also saw the Kwik Stix on the table that I had used for something else and she wanted to draw with those. I quickly switched this activity to a drawing activity.
We also did something similar with heart shaped crayons that I found in the dollar spot at Target. I placed the hearts on the paper and modeled tracing around the heart. Around 18 months to 2 years, a child’s scribbles become more consolidated and purposeful. You will begin to see more horizontal and vertical lines, loops and spirals, and rough circles. So, adding the hearts gave a target and purpose for tracing and making those more complex lines and scribbles.
Materials needed for this activity:
- Acrylic hearts
- Kwik Stix
- Heart Crayons found at Target dollar spot (or you can find something similar HERE)
- Paper
Number Heart Walk
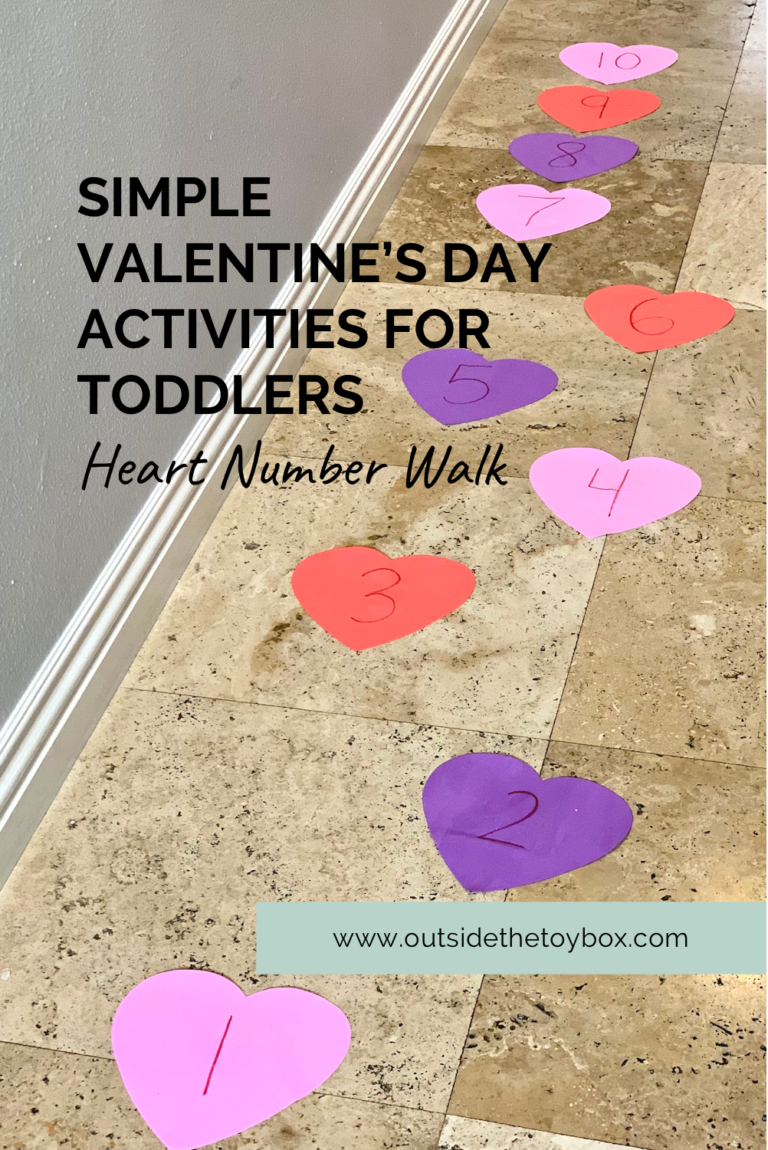
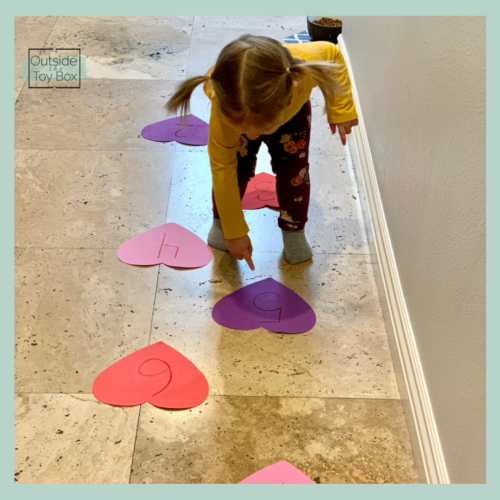
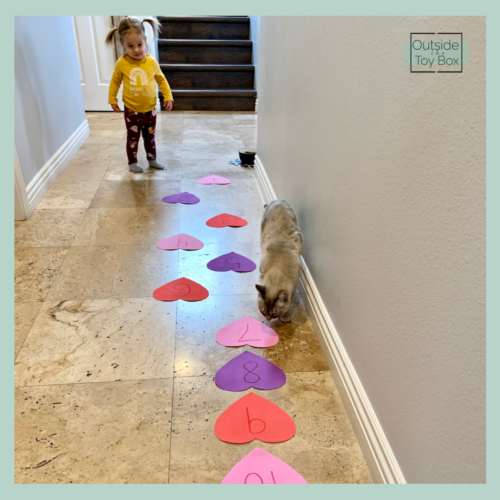
Ruby has been a lot more interested in numbers and counting. She loves her personalized counting book 10 Little Rubys. Whenever she wants to count she just says, “two.” I took this interest to add numbers to foam hearts and tape them to the ground for a little number walk.
Ruby loved running up and down the hearts. She also pointed to the numbers on the hearts. Even our cat Nacho got involved.
I wanted to get her some stepping stones and I thought this would be a cheap way to test out how she would do with something like that. I think she would use the stepping stones differently than the flat foam hearts. So if you do have some stepping stones you could add interest to this activity by taping the hearts to the stepping stones.
Materials needed for this activity:
- Foam Hearts
- Tape
- Suggested stepping stones
Color Sort and Post
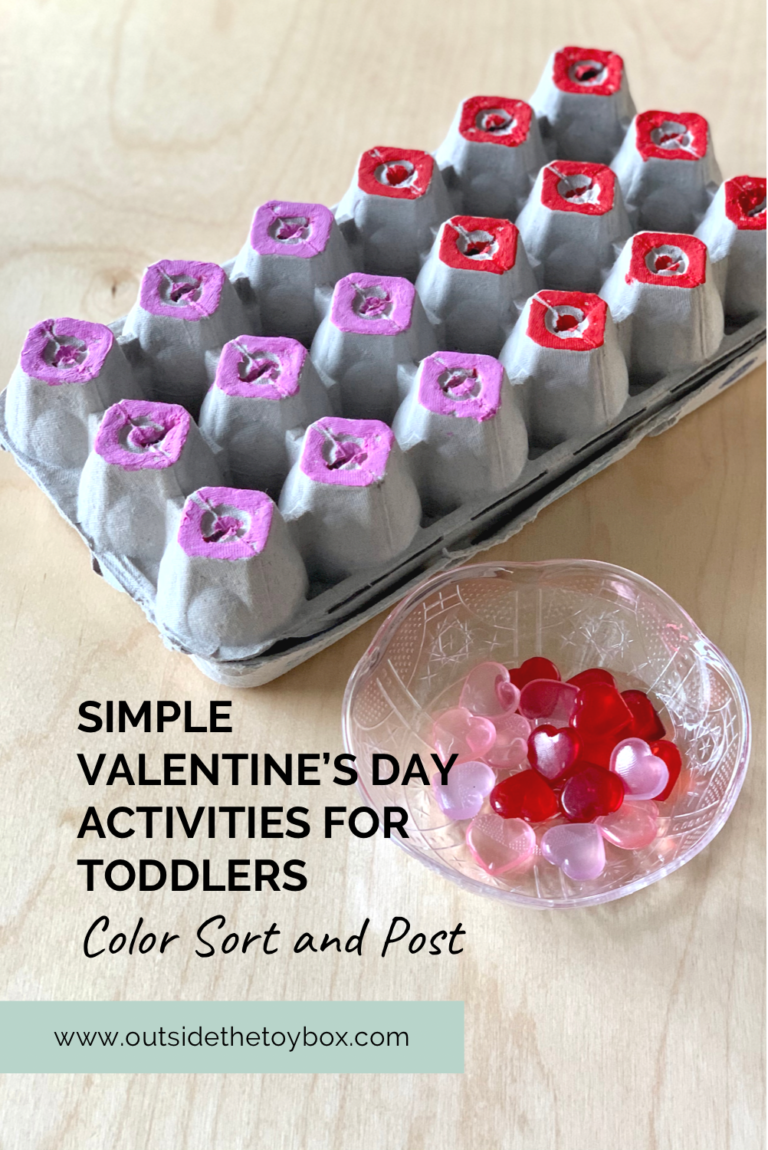
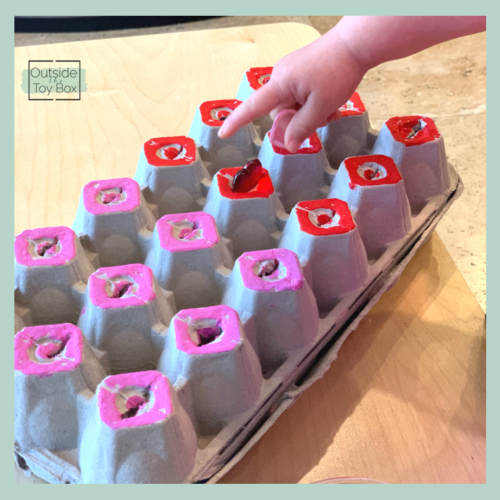
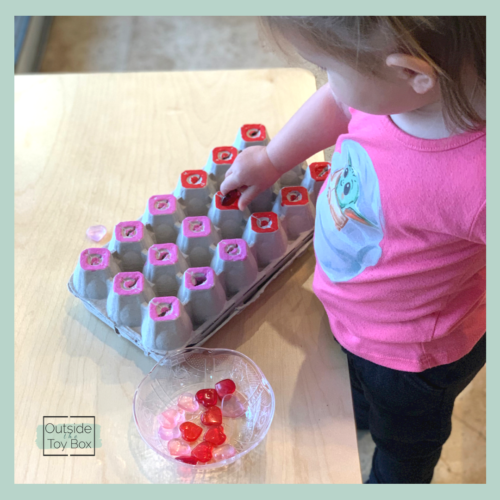
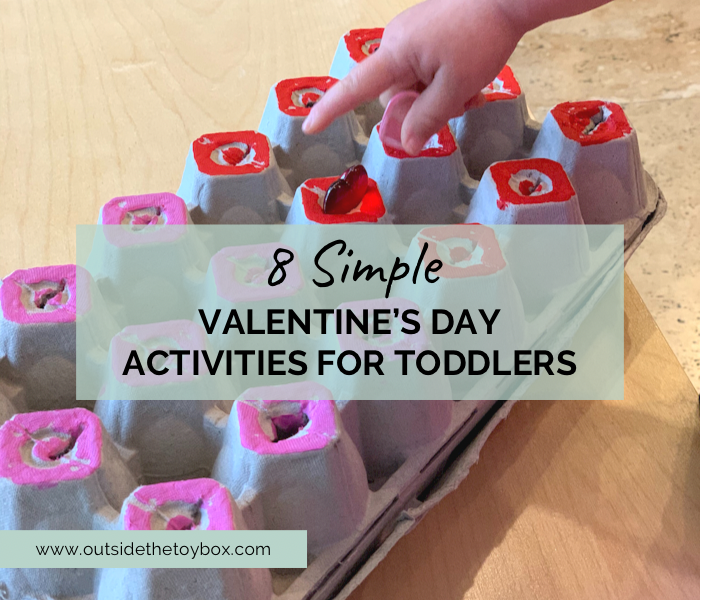
I have started seeing some other toddlers Ruby’s age beginning to color sort, so I wanted to offer the opportunity in a simple way. I gave her pink and red hearts and painted an egg carton with pink and red. I cut slits in the egg carton for more challenging posting. The intention was for Ruby to place the red hearts in the red spots and the pink hearts in the pink spots.
This did not fully go as planned. Ruby did not sort by color and some of the slits were a little too small for the hearts to fit into. She lost interest after only a short while. I would adjust this activity by cutting bigger holes. It also would be more interesting for those that are into color sorting.
Materials needed for this activity:
- Acrylic hearts
- Egg carton
- Something to color the egg carton (I used Kwik Stix and it gave a very vibrant color)
Fizzy heart surprise
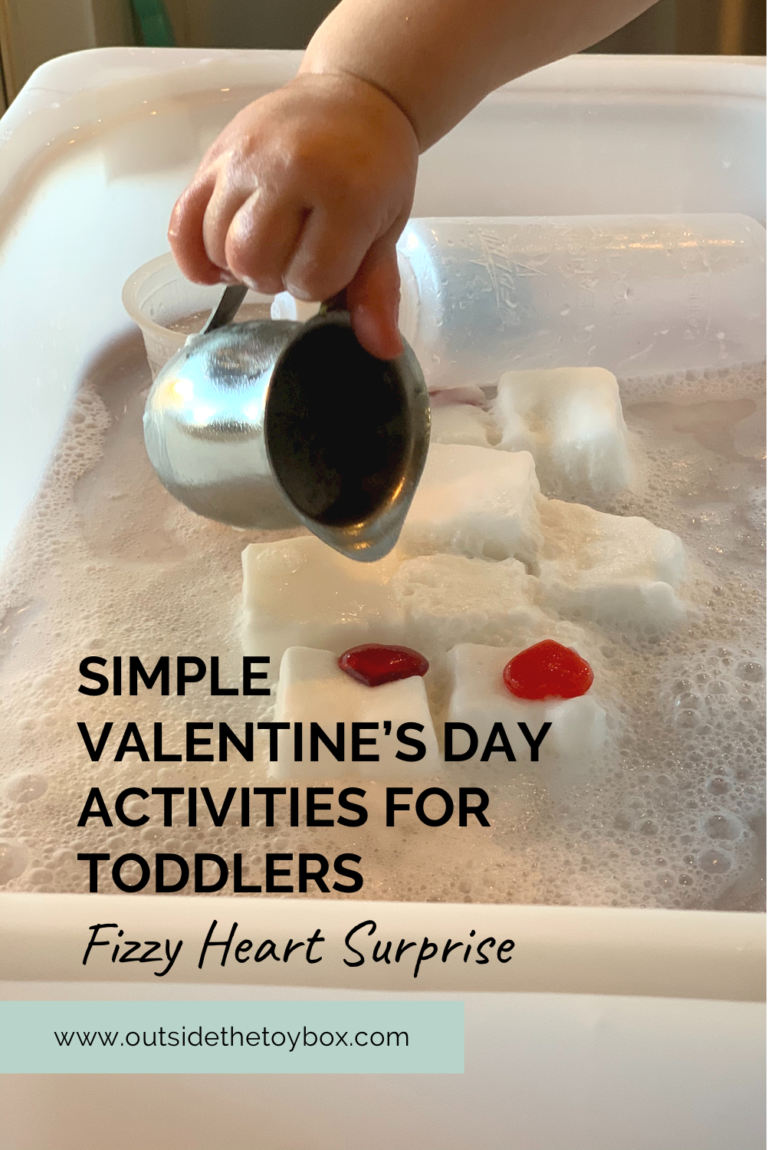
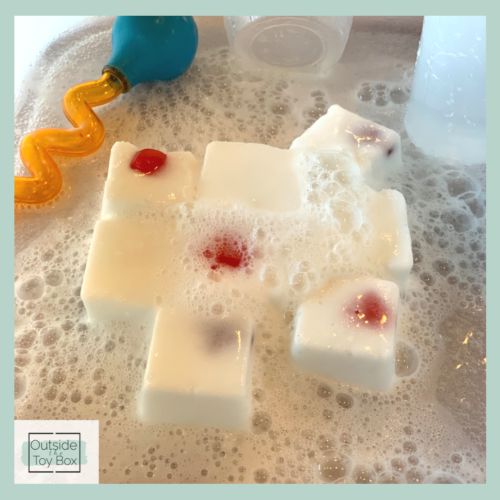
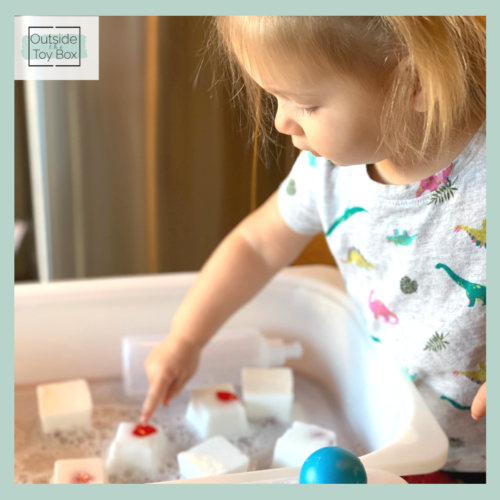
This activity probably takes the most amount of prep, but it is totally worth it if you plan ahead a bit. I put the acrylic hearts at the bottom of an ice tray. Then I mixed a small box of baking soda with a little bit of water to form a paste. I put the paste into the ice tray and put it in the freezer to freeze overnight. The next day I took out the baking soda ice cubes and added vinegar in various pouring and squeezing tools.
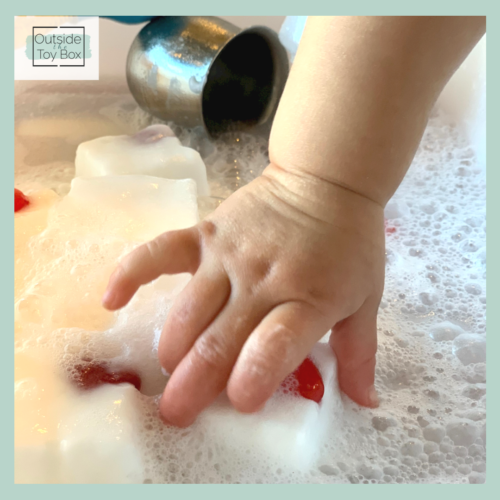
Ruby loved to pour and squeeze the vinegar onto the blocks. I think I was more amazed than she was at the fun fizzy reaction though. She did love when the hearts appeared and she was able to take them out.
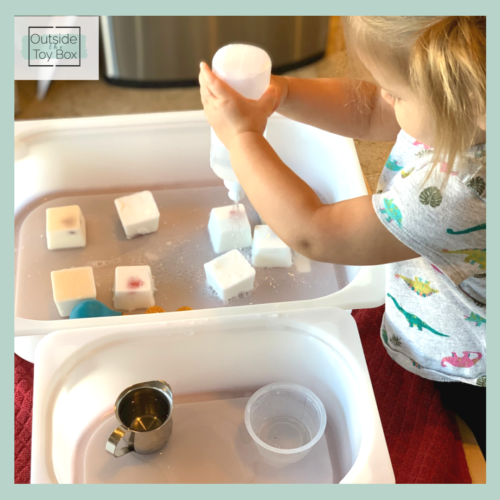
Materials needed for this activity:
- Baking soda
- Ice tray
- Plastic bins
- Pouring tools
- Squeezing tools
- Vinegar
- Acrylic hearts
Hearts in a muffin tin
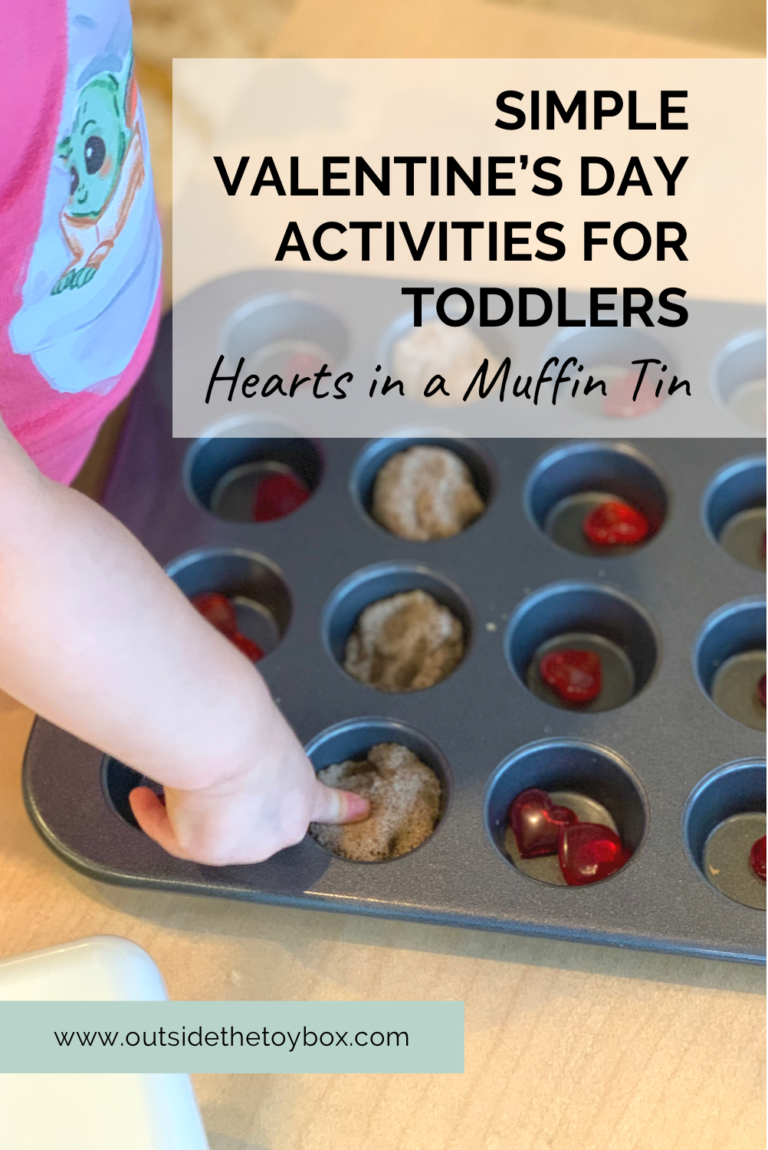
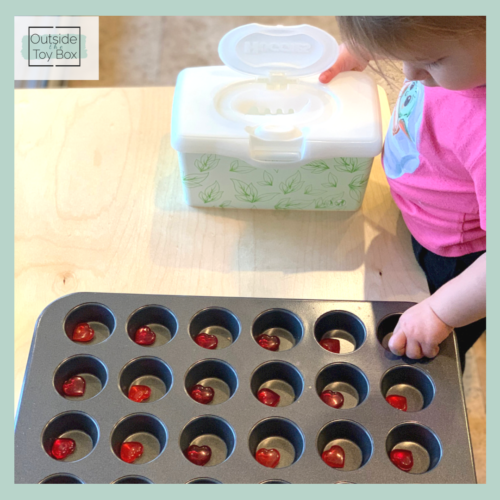
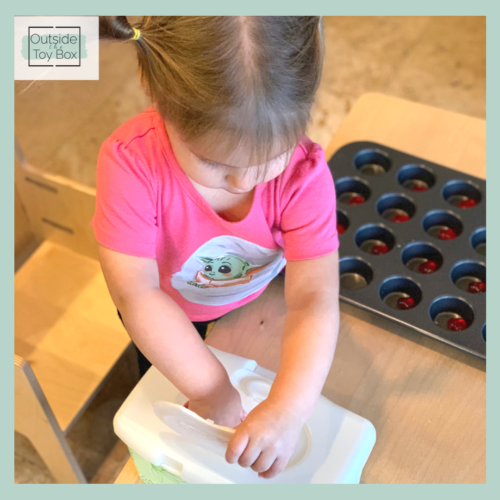
This one started out a little too simple for Ruby. I started with the hearts alone in the mini muffin tin and a wipes container to put the hearts into. Ruby was not very interested in this idea (not a loss because I didn’t spend much time setting it up). I think this simple idea would be perfect for a younger toddler (with supervision with the small parts).
I added some kinetic sand and Ruby was much more interested in that idea. She poked the kinetic sand with her fingers and with the hearts. She also moved the kinetic sand from spot to spot.
You could make this activity even more interesting by adding more loose parts (pom poms, wooden hearts, muffin liners, foam hearts, etc.).
Materials needed for this activity:
- Mini muffin tin
- Wipes Container
- Acrylic hearts
- Kinetic sand
- Suggested other Valentine’s themed loose parts
Read more about loose parts and their benefits HERE.
Sponge Treasure Hunt
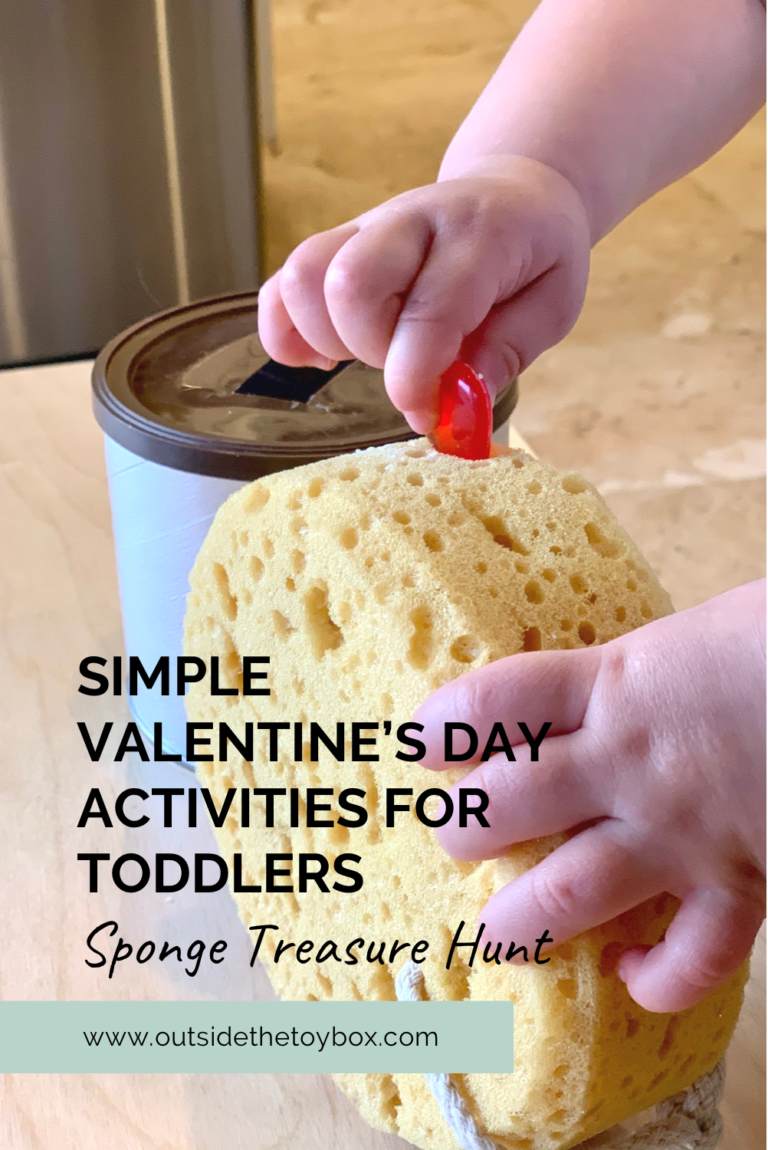
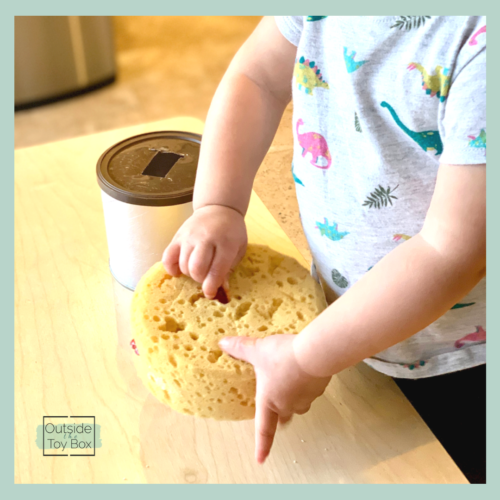
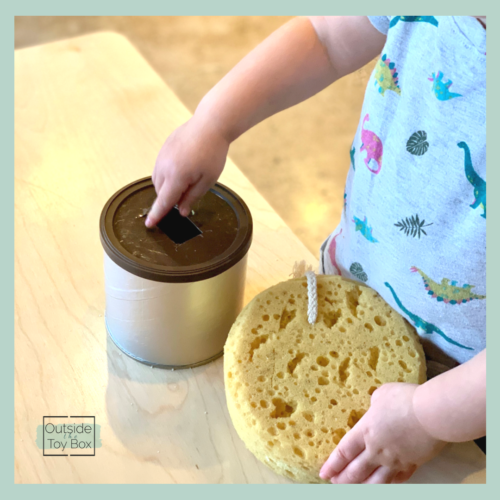
This was one of my favorite activities I did with Ruby because it was super simple and it really worked those fine motor muscles. She actually played the way it was intended as well. To set up this activity simply take a thick sponge and cute random slits using a box cutter or exacto knife. Then stick the hearts in the slits. I also included a tin with a slot cut into the lid for posting the hearts after getting them out of the sponge.
I showed her how to take the hearts out of the sponge and place them into the tin. She stayed really focused and engaged until she found all the hearts. After she took out each heart, she placed it into the tin. She wanted to do this activity twice before she lost interest.
Materials needed for this activity:
- Sponge
- Acrylic hearts
- Tin or other recycled container
Heart Sensory Bag
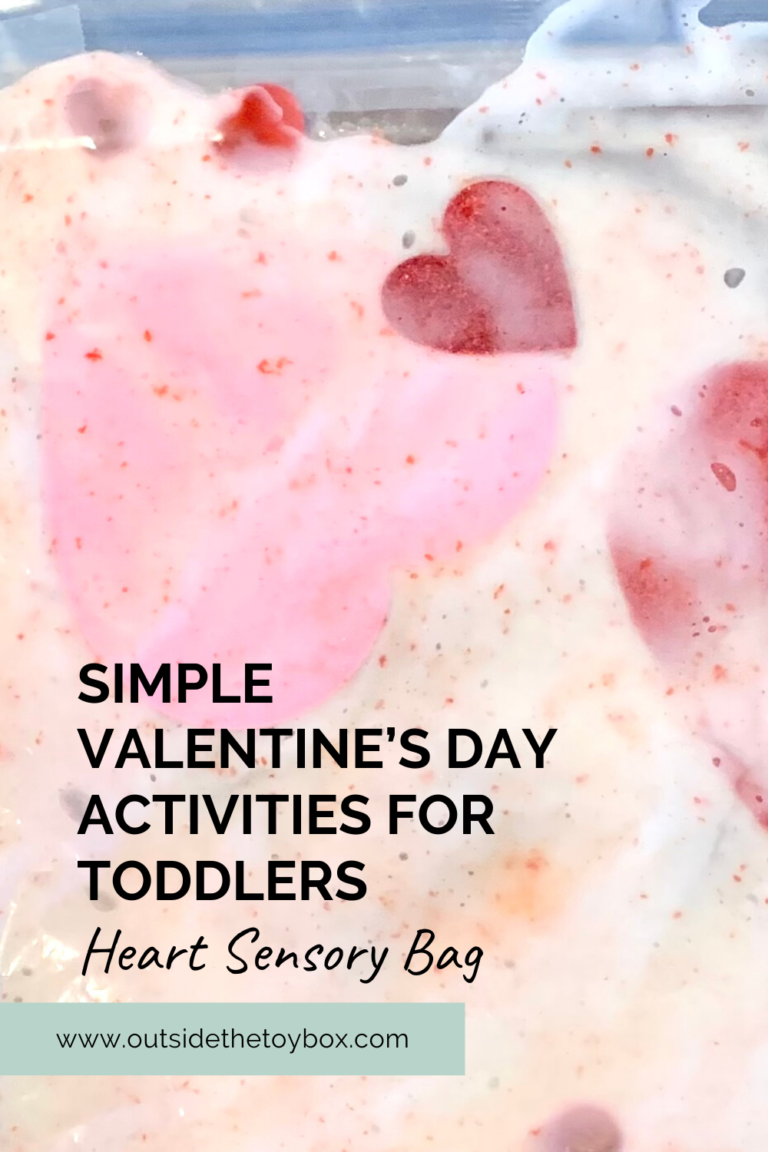
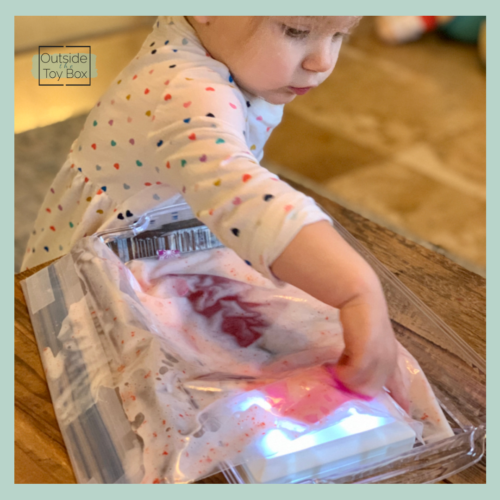
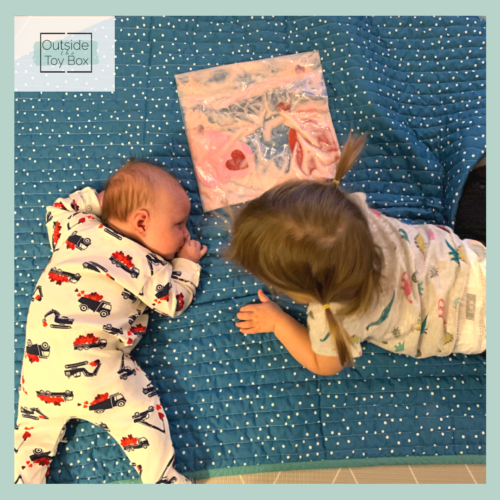
I wanted to create something that both my toddler and newborn could enjoy, so a sensory bag was perfect to add to tummy time and still fun for Ruby. To make it I put in conditioner, a drop of red food coloring, some foam hearts, and some acrylic hearts. I rubbed off the label to make a clear bag by using a little rubbing alcohol. I put it on top of a light for an added sensory experience for Ruby.
Both seemed to enjoy the bag, but in different ways. The bag also had a nice smell from the conditioner, which seemed to catch their interest. Although Miles is a little too young to really care for playing with something like this, it was good practice for Ruby to share space and things with her baby brother.
Materials needed for this activity:
- Ziploc bag (we used freezer size and rubbed the label off with rubbing alcohol)
- Foam Hearts
- Acrylic hearts
- Conditioner
- Food coloring
sensory bin heart posting
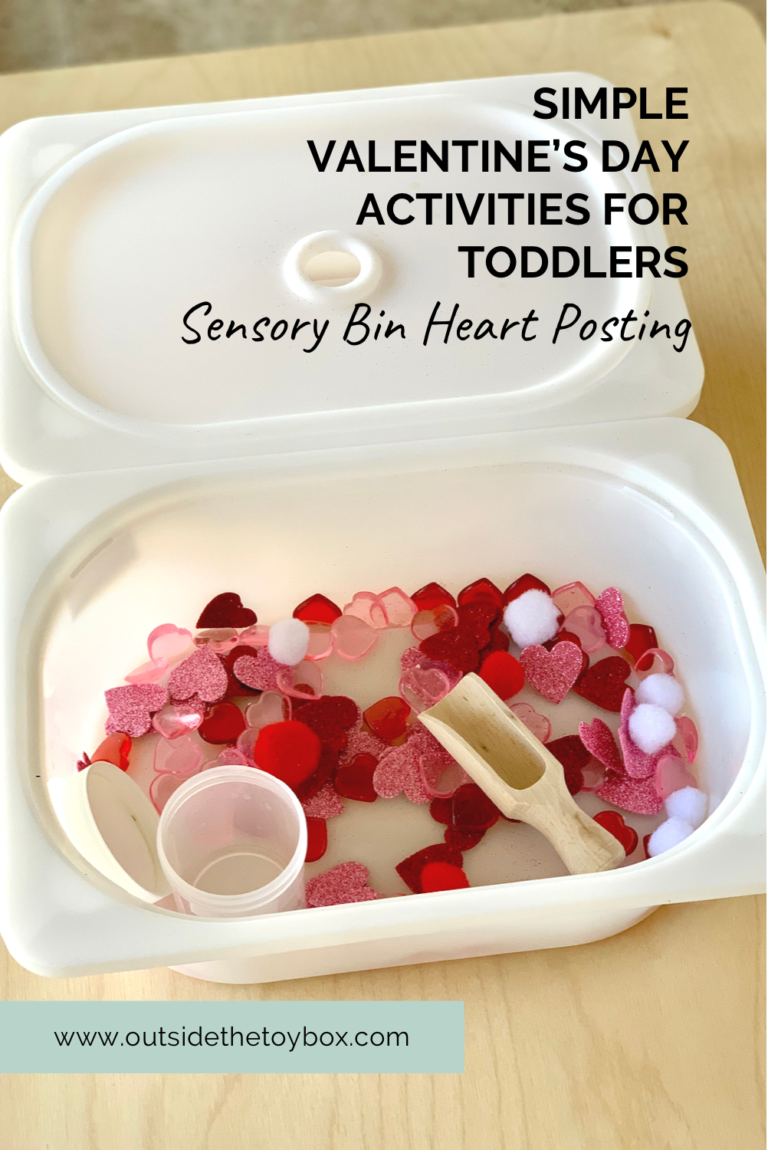
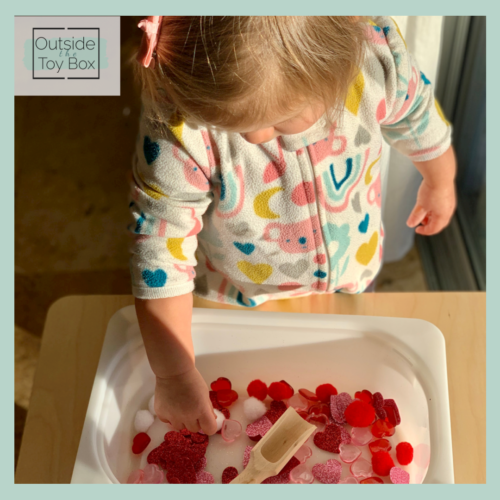
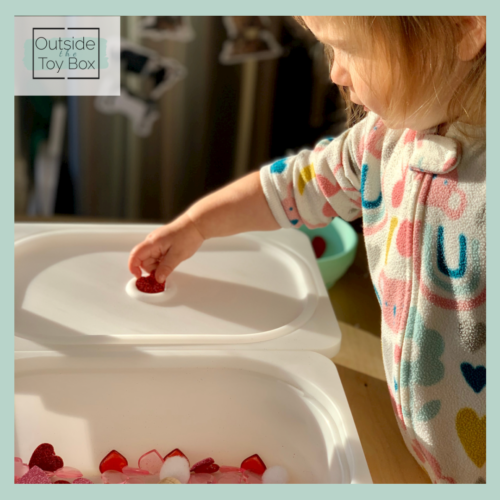
I was so excited to use these cute bins from Ikea that had a perfect little circle hole for posting. I thought a dry sensory bin would be perfect. I got out my Valentine’s Day storage from the garage and threw this together one morning just so we could finish making breakfast without constant whining.
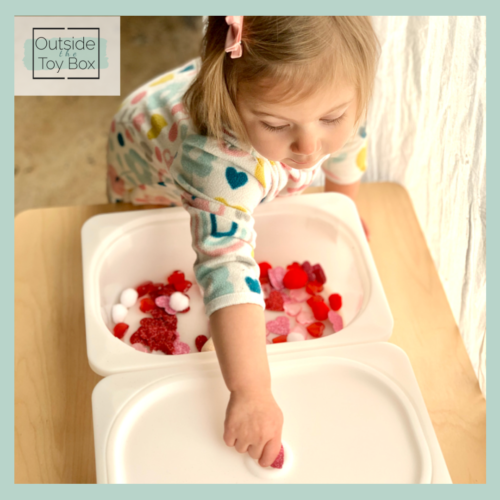
I added pom poms, acrylic hearts, and foam hearts with a wooden scoop and a jar. I placed the two bins next to each other and modeled putting the heart into the hole in the other bin. This set up encouraged transferring and crossing the midline.
Crossing the midline (or the imaginary line down the middle of the body) is an important skill for reading and writing. This type of movement and coordination helps the two sides of the brain work together and sending messages across the two sides helps with cognition.
Ruby enjoyed this activity and it kept her busy until breakfast was ready. She went back to this activity a few different times after breakfast too. I liked that there wasn’t too much mess to clean up, but I did have to watch her closely because she started putting the foam hearts in her mouth. When she mouths toys, we start with redirection (“We can put the hearts here in the bin, not in our mouths”) and if the redirection does not work, we take the activity away and say, “Ok, we are not ready for this right now, maybe we can try again later.”
Materials needed for this activity:
- Acrylic hearts
- small foam hearts
- pom poms
- wooden scoops
- Ikea Trofast bins with lid
Final Thoughts
I guess you don’t have to love Valentine’s Day to celebrate in a fun and non-traditional way. These simple ways to play are engaging, quick to set up, and easy to clean up. There is nothing not to LOVE about that ;).
Be sure to follow us on social media to see our daily play shenanigans in action.

Follow us on Social Media to get daily play inspiration.
Facebook
Instagram
Pinterest

Share on facebook
Facebook
Share on pinterest
Pinterest
Share on email
Email
Share on print
Print
Please help to support my blogging efforts by sharing this post to others who may find some value in its contents.

Love how creative you are with all your projects!
Thank you! I have fun putting them together for her. Plus, it breaks up the monotony of the day.