People always say the best gift was the box. Well, in this case, that may be true.
Quarantine life got me feeling really crafty. Maybe because I am bored with all of my baby’s toys. Or maybe because I don’t want to spend any money.
Either way, I made the following super engaging toys and puzzles from cardboard and things I found around the house. I hope you find some inspiration from one or more of these items.
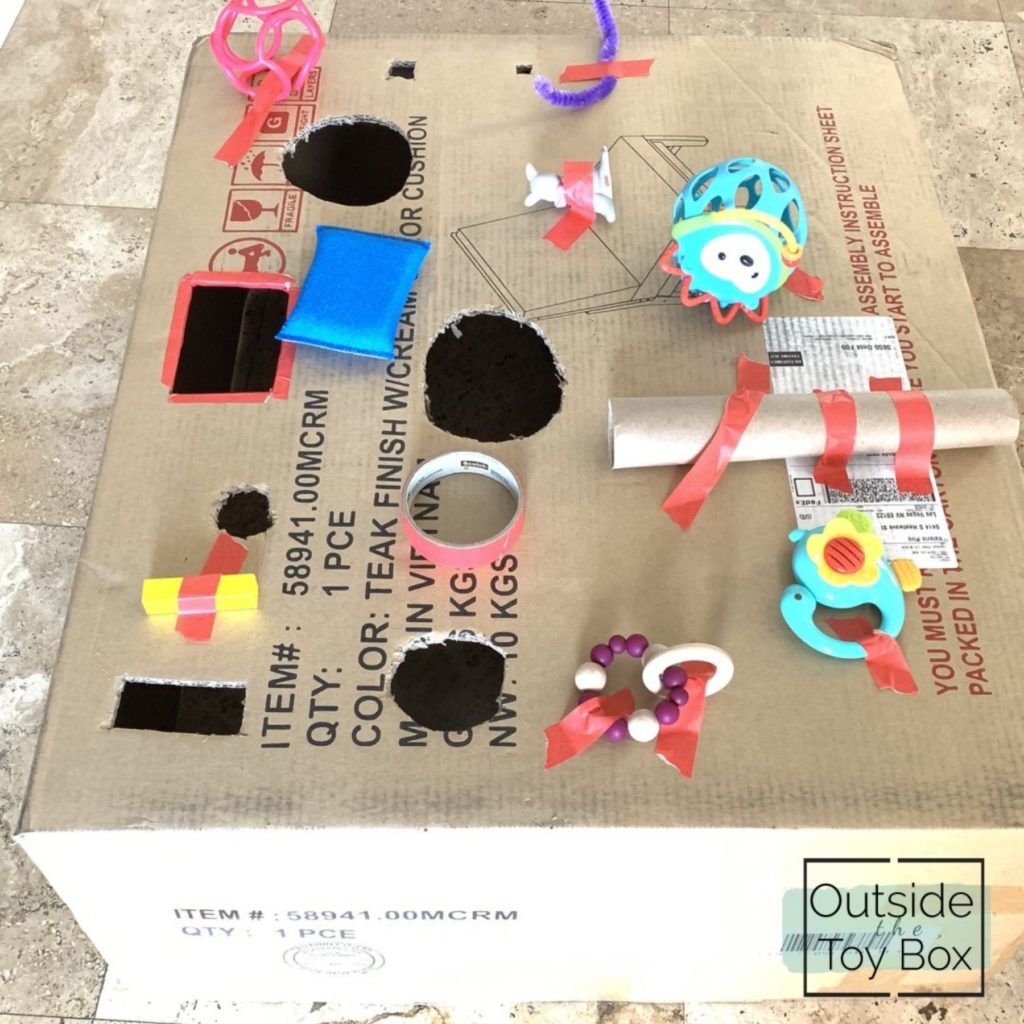
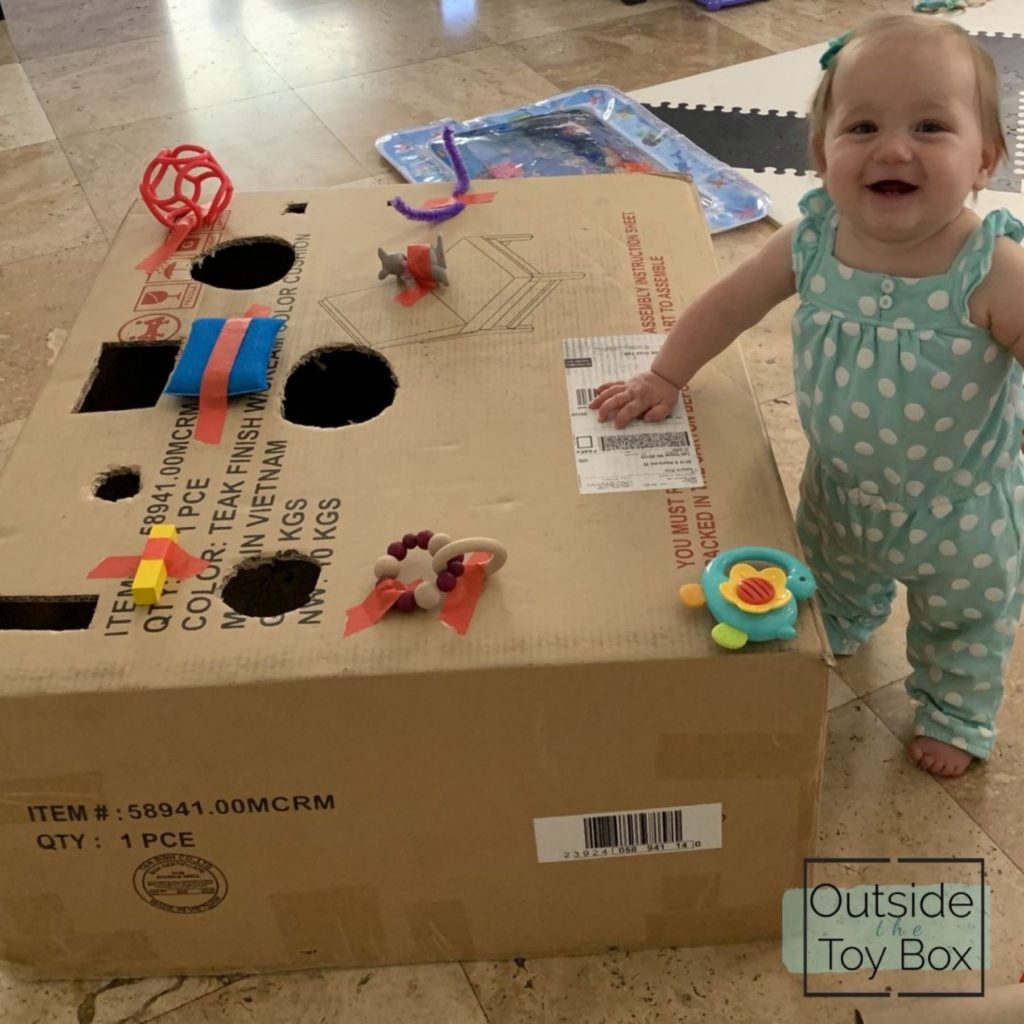
1. Pull and Drop Table
The first was inspired by my 9 month old’s desire to stand. Plus, I had some sturdy boxes in the garage that worked perfectly.
To make:
- Cut different size/shape holes in the top
- Tape various toys of different sizes/shapes near the holes
- Tape around the edges of the holes with colored tape to add a visual focus
There you go, super easy. This one was fun because it had multiple steps. She had to take the toy off using fine motor strength, then she had to find a hole that the toy could fit inside using spatial awareness, then she dropped the toy in and looked to find it using her understanding of object permanence.
We also used this one by putting it upright to have some vertical play. Changing the positioning allowed for extended engagement time. I also added some wipe lids over some holes and she really enjoyed lifting the flaps.
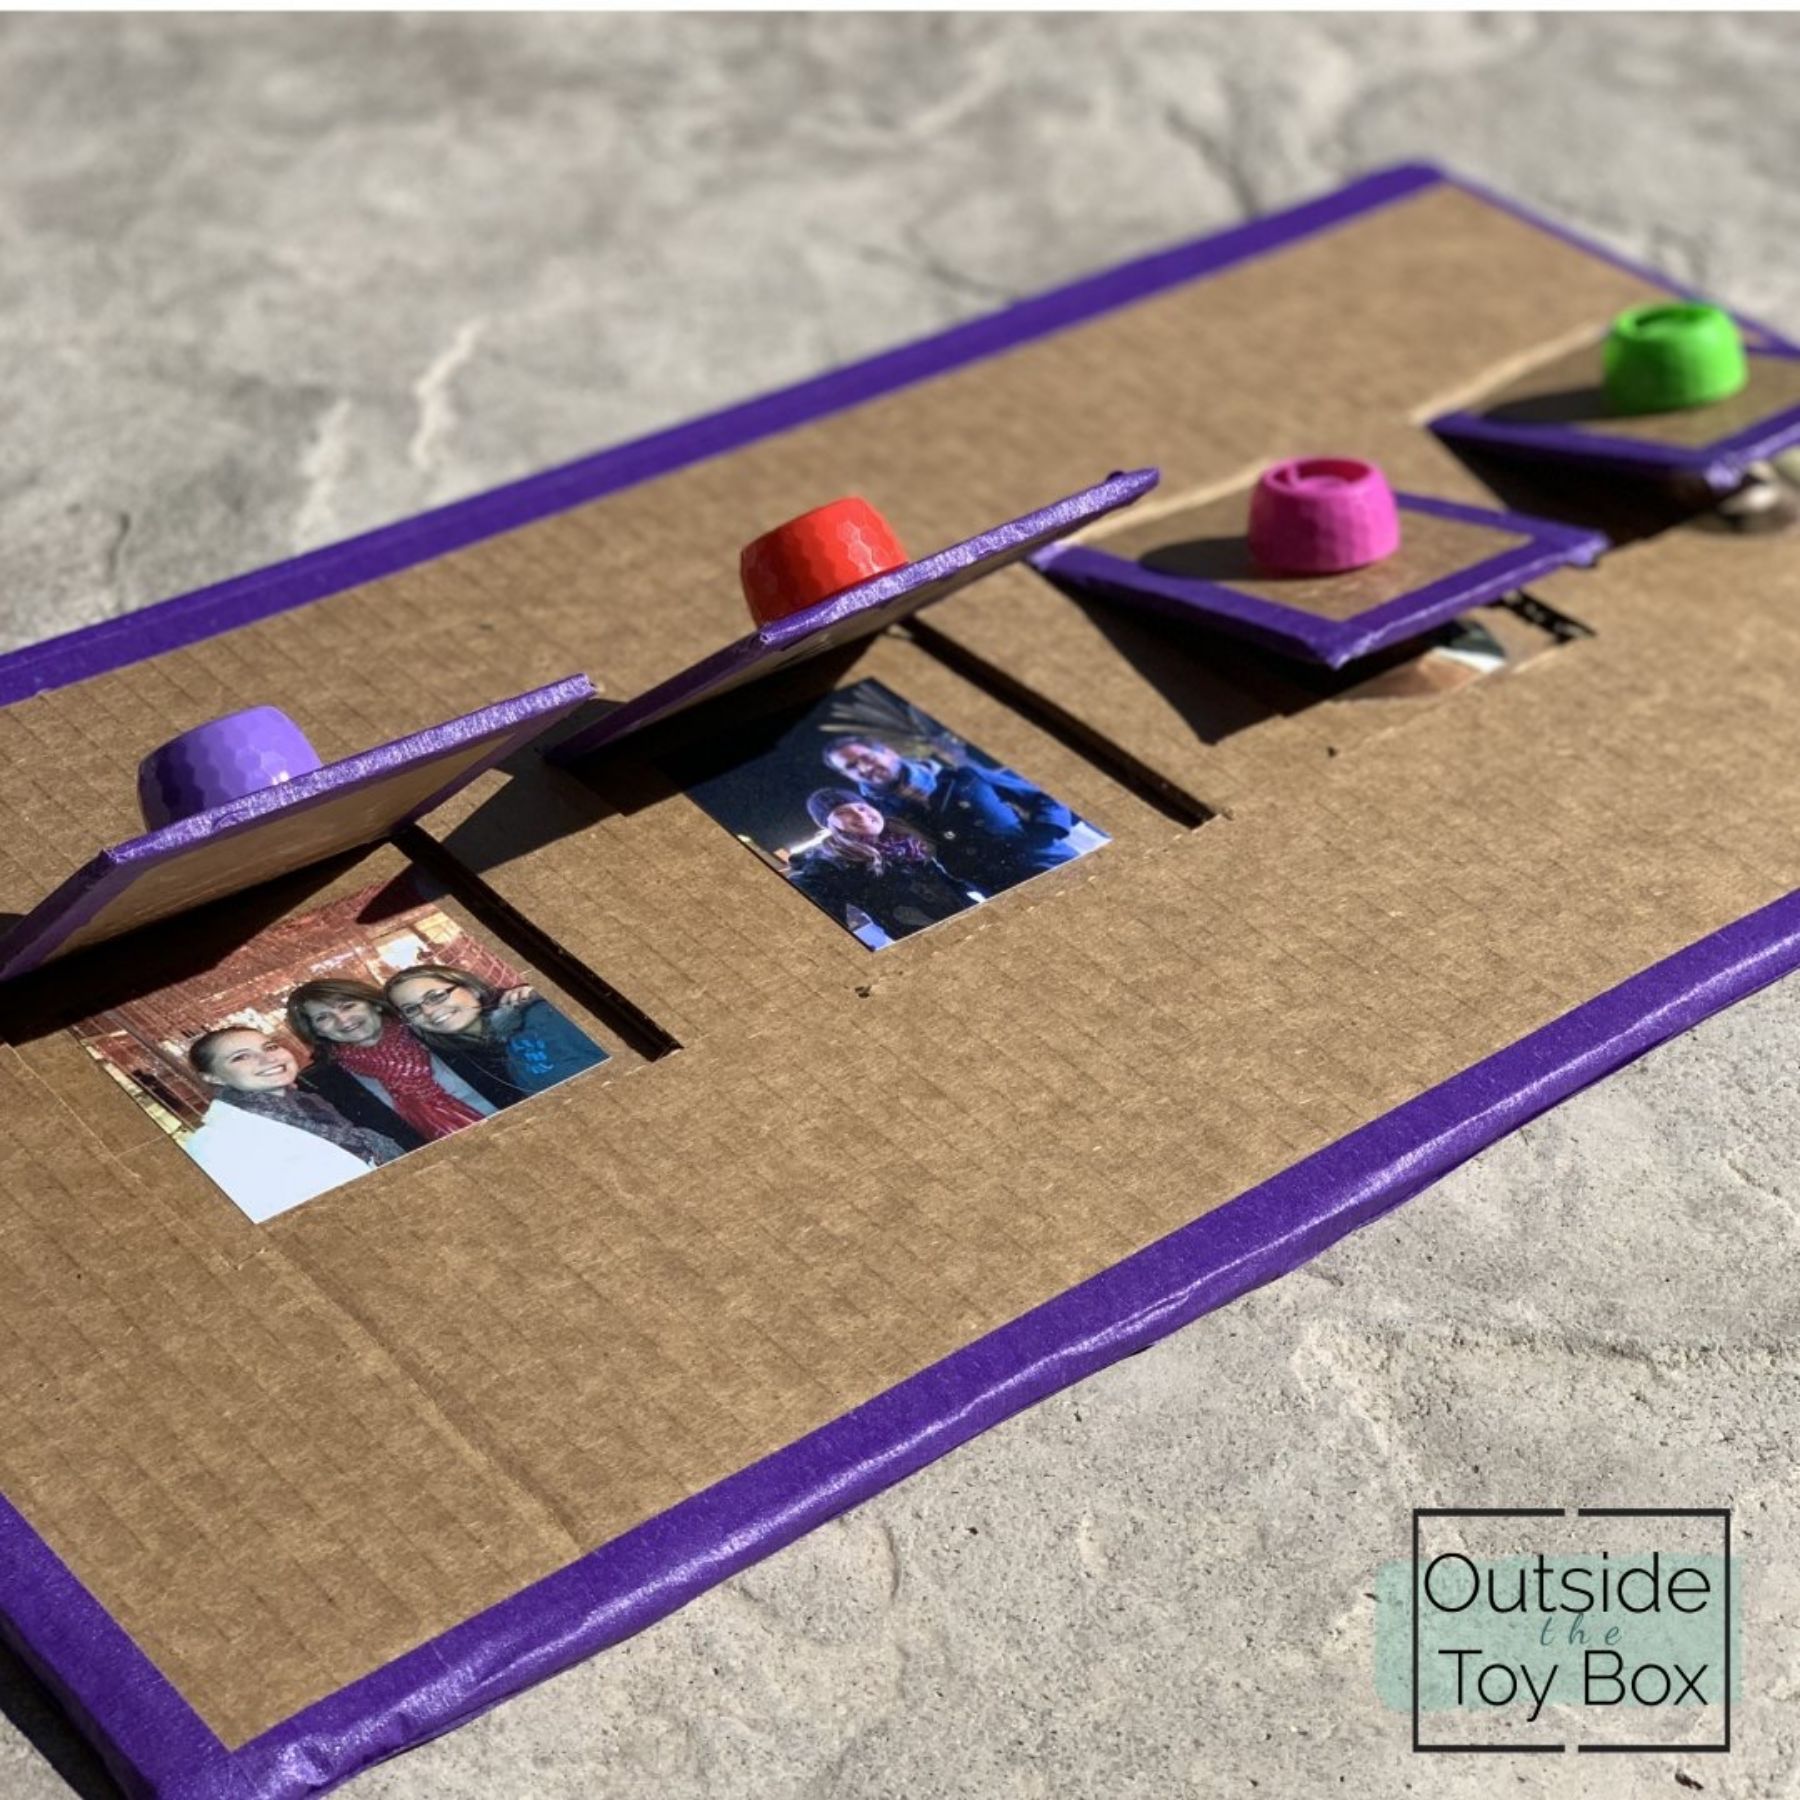
2. Lift-the-Flap Peekaboo Puzzle
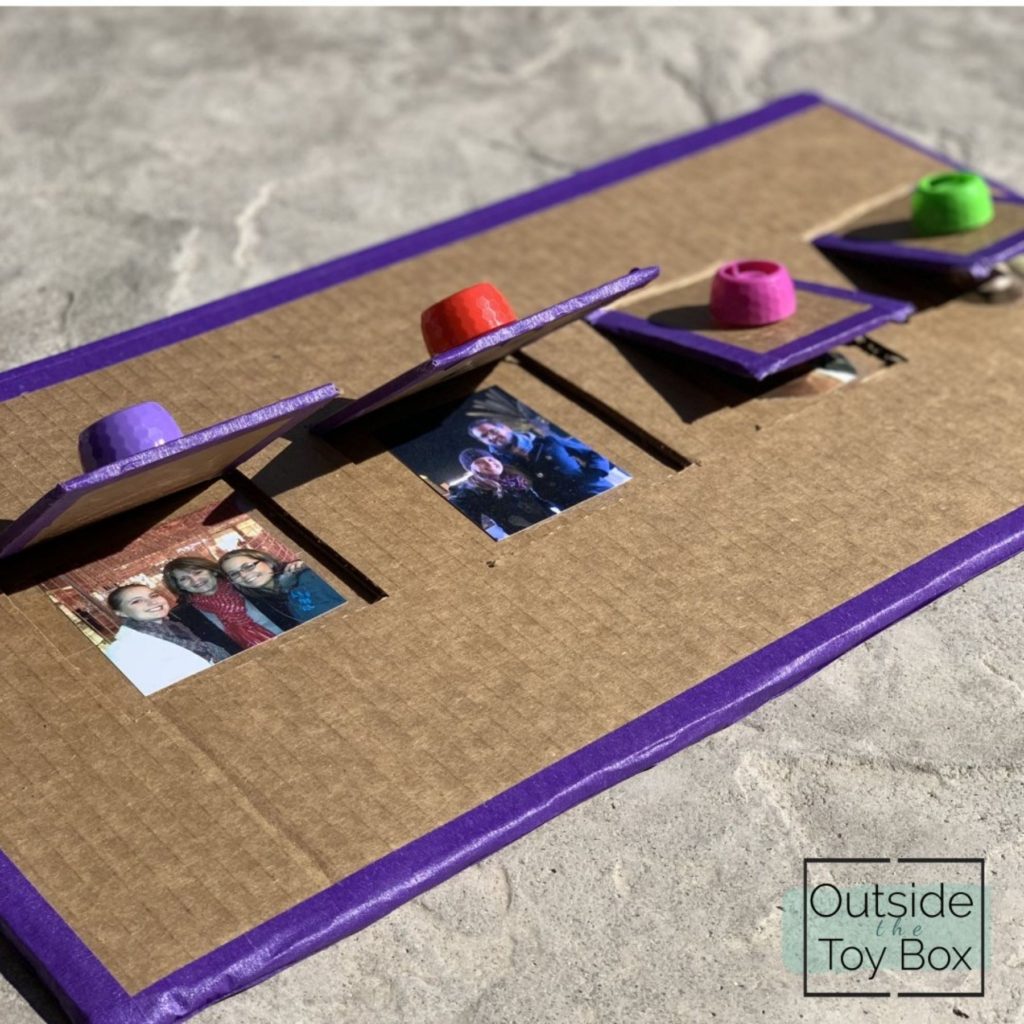
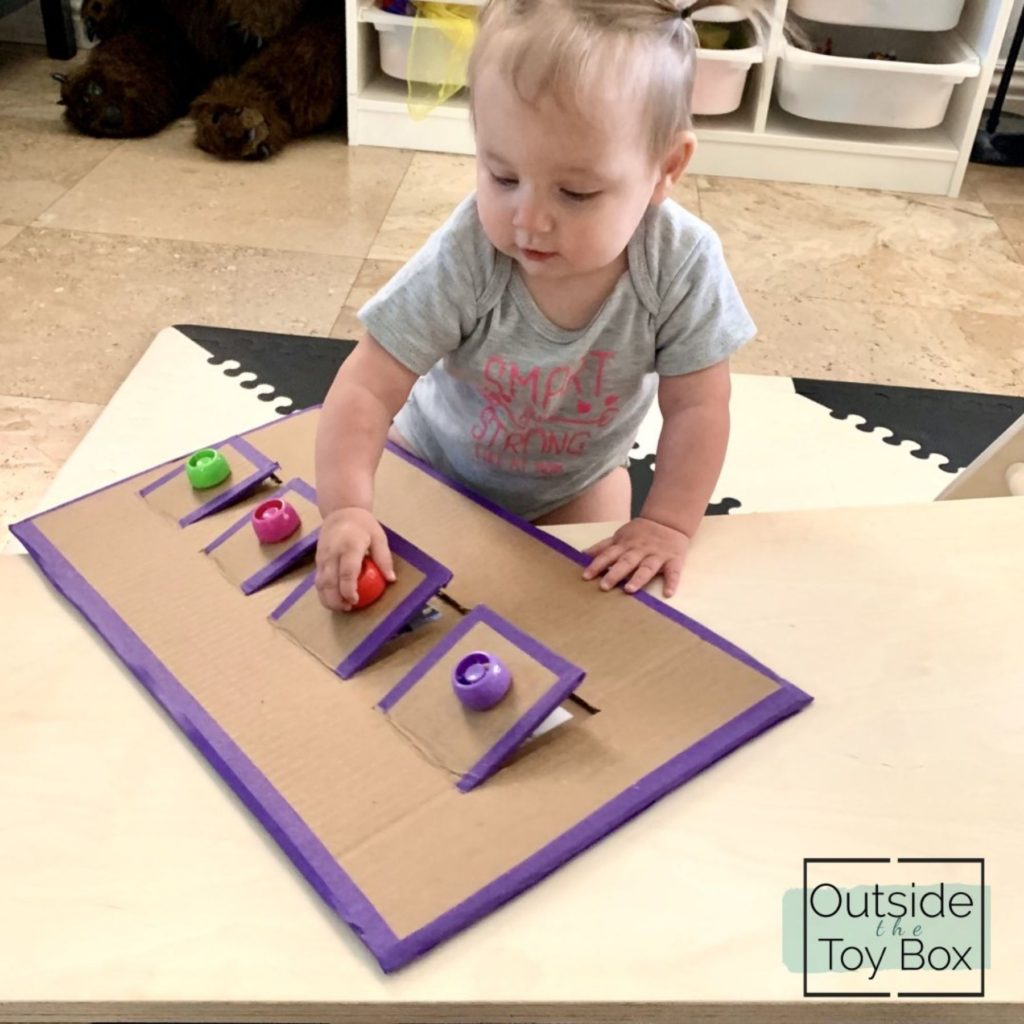
Ruby loves looking at pictures of family and friends, so we incorporate them into a lot of our play. She was also at a stage where she loved lift-the-flap books and playing peekaboo (8 months old).
Always try to follow your child’s interests to create more engagement. This idea might look really cool and you really want to make it, but don’t make it if your child is not at the developmental level where they would enjoy it or they have no interest in things like pictures or lifting flaps.
To make:
- Get two pieces of cardboard the same size
- Cut flaps into one piece of cardboard
- Glue to the other piece of cardboard
- Tape pictures under the flaps
- Hot glue pouch lids to the tops of the flaps
You may have to tape or hold the puzzle down when your child lifts the flap. Alternatively, you could hang it on the wall to allow for some vertical play. We did not put it on the wall because we have pictures at her level on the wall. I wanted this puzzle to be mobile so we could rotate it through different rooms. If you want to see more about our toy rotation, check out my post “How to Start a Toy Rotation.”
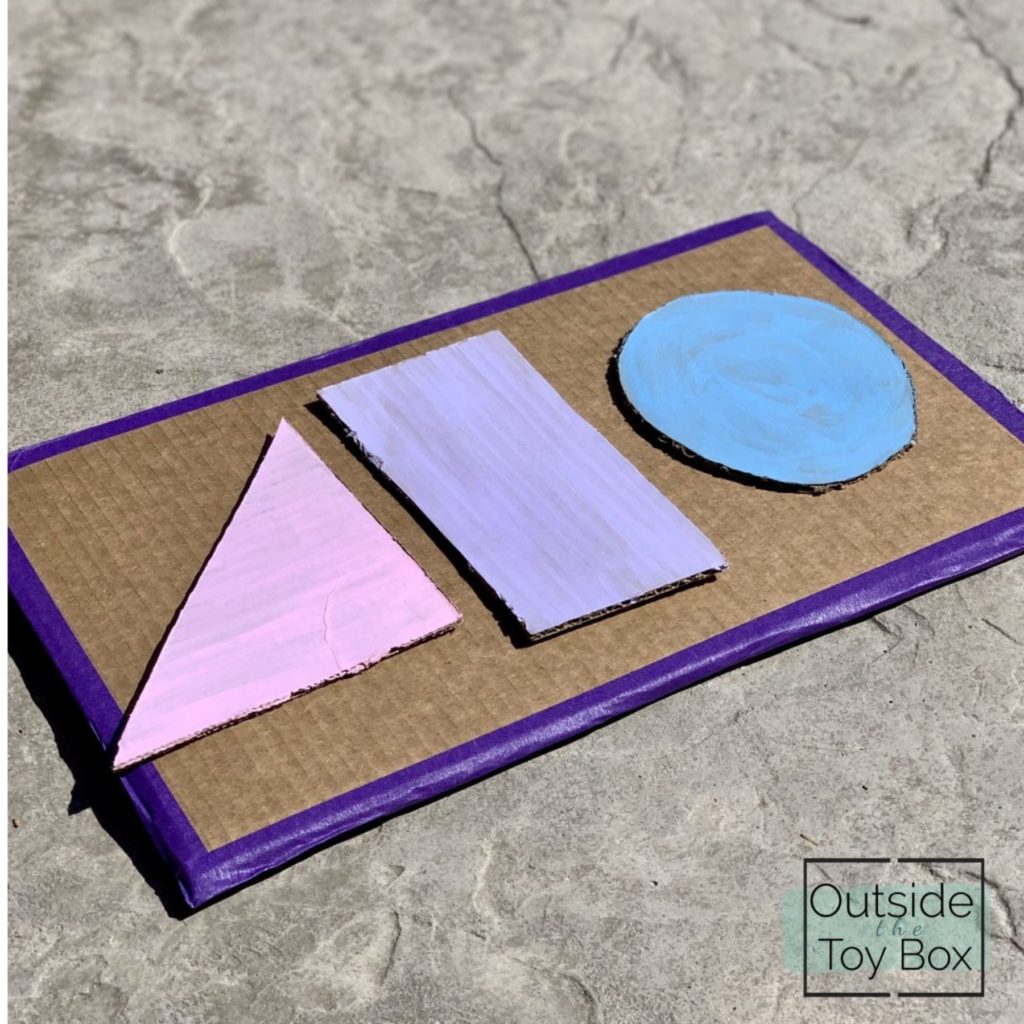
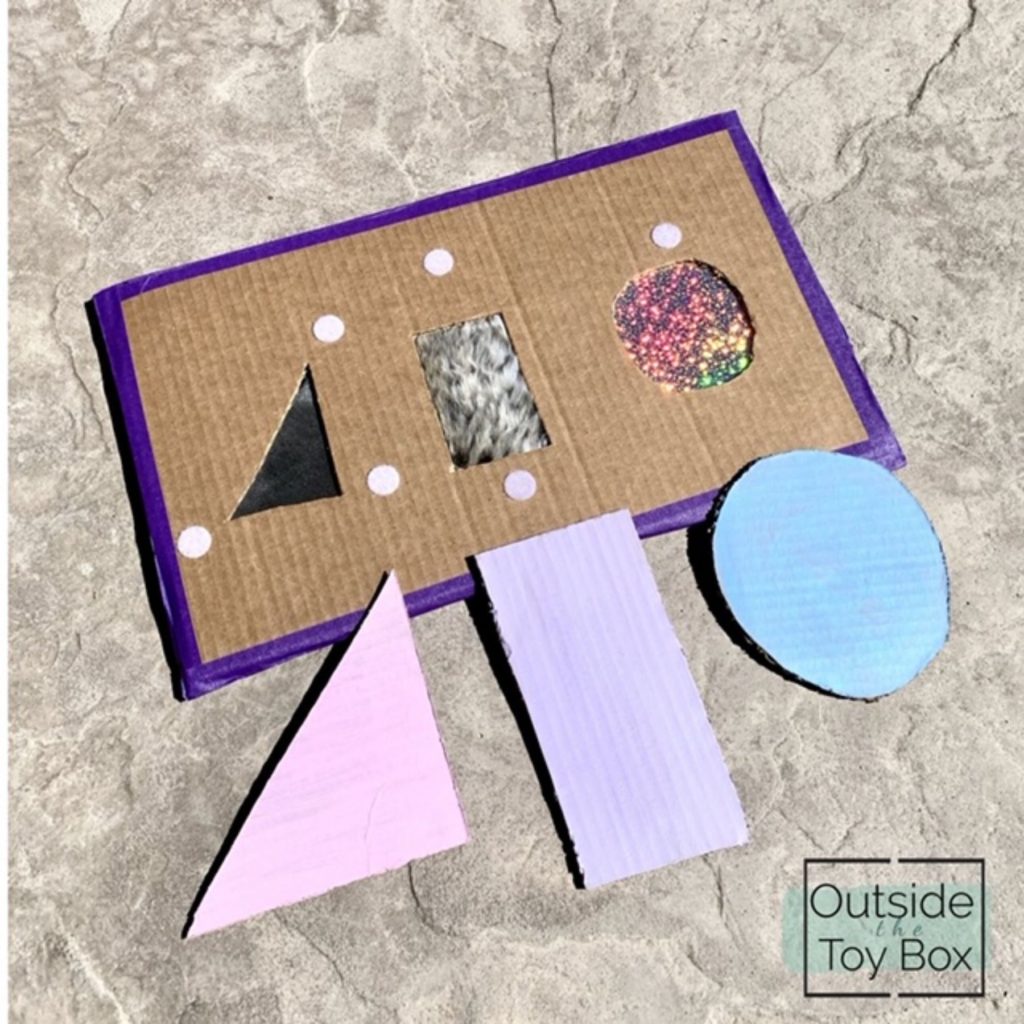
3. Shape Touch and Feel Puzzle
Again this idea was sparked by observing Ruby play and noticing what she naturally gravitated to when playing. It was also inspired by thinking of the materials I already had at home.
Ruby loved her touch and feel books and I had some fur and Velcro I wanted to use. I came up with the idea to have Velcroed shapes that she had to lift up. Then I thought it would be fun if there was a surprise underneath. That’s when I thought about the fur I already had. Next I had to think of some other textures. I found sandpaper and some shiny, smooth paper.
To make:
- You need cardboard, different textured materials, Velcro dots, box cutter, glue, strong tape, (optional paint)
- Cut shapes into a piece of cardboard
- Trace those shapes onto your textured material
- Cut the textured material out
- Tape the textures onto a different piece of cardboard
- Place the shape cutouts on top of the textures and glue the two pieces of cardboard together
- Cut the same, but larger shapes out of more cardboard
- Put Velcro dots on the edges of the shapes (less dots = easier, more dots = harder)
- Optional: paint the outer shapes
This one was a hit with my 9 month old, but I would imagine a little older and a little younger could also find this toy very engaging. After some lifting, it was fun for Ruby to try to pick off the Velcro. I let her (with supervision so she wouldn’t eat it) because it really worked those fine motor muscles. The Velcro also added another texture that I didn’t even plan as a texture. I love those happy coincidences.
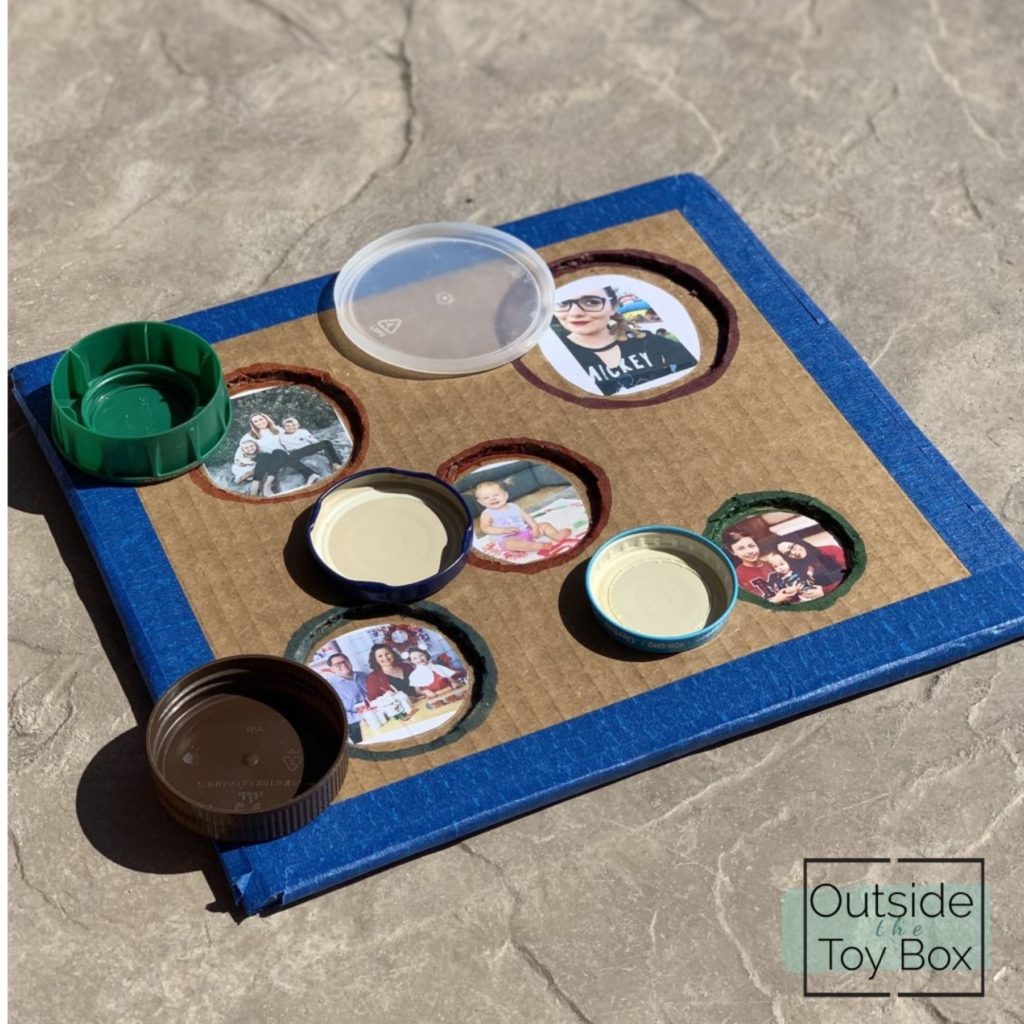
4. Lid Peekaboo Puzzle
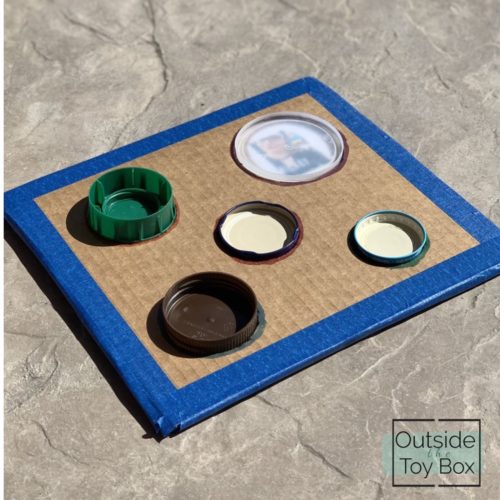
This puzzle combined two of Ruby’s favorite things…pictures and lids. Lids are a loose part that we have used for many activities and also for open-ended exploration. If you want to know some more loose parts that are great for infants and toddlers, then check out my post “Loose Parts Play for Infants and Toddlers.”
To make:
- Get two equal sized pieces of cardboard
- Collect a variety of lids
- Trace the lids on one piece of cardboard
- Cut out the circles
- Tape pictures into the holes and cover with lids
Voilà! Super easy and quick to make. The pictures made it more motivating and engaging to take the lids off and attempt to put back on. Without the pictures this would be fun, but I would imagine it would keep her attention for a lot less time.
There you go, 4 super engaging cardboard DIY projects perfect for babies and toddlers. Have you made something like this before? What other cardboard DIY toys were a hit with your little one? Let me know in the comments below.
Make sure to check out my other DIY projects
Share on facebook
Share on pinterest
Share on email
Share on print
Please help to support my blogging efforts by sharing this post to others who may find some value in its contents.


Trackbacks/Pingbacks