
There are several benefits and reasons to start a toy rotation. I personally aspire to be a very organized person. I am not unorganized, but I am not one of those perfectly organized and clean house with color-coordinated binders and labeled everything kind of mom either. As an early childhood educator I learned the importance of rotating toys to consistently spark curiosity in young little learners. I started when Ruby was only a few months old, mainly because I got really bored with the toys I was offering her. As she got older and interacted more with her toys and her environment, it became clear I needed a better system. So, I recently did a major overhaul and I am here to share with you a step by step process to getting started with an organized toy rotation system.
Disclosure: This post may contain affiliate links, which means we may receive a commission if you click a link and purchase something that we have recommended. As an Amazon Associate I earn from qualifying purchases. While clicking these links won’t cost you any extra money, they will help us keep this site up and running! Please check out our disclosure policy for more details.
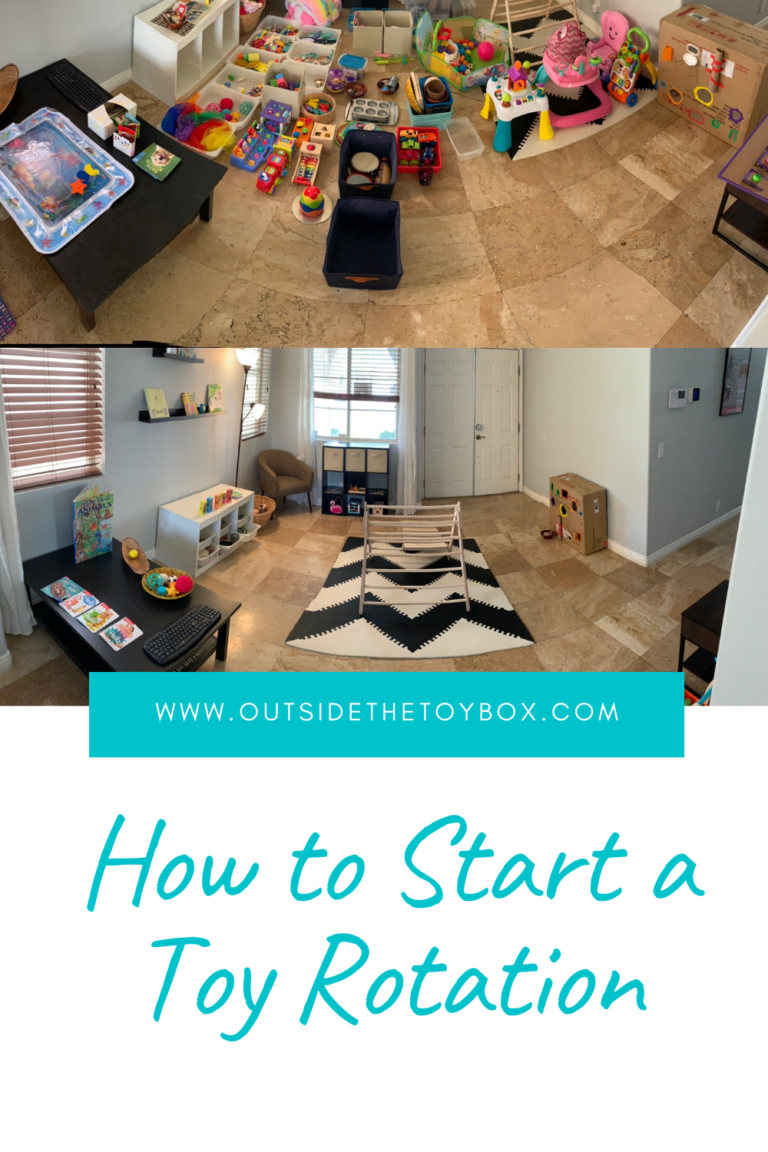
Step by Step Process to getting started
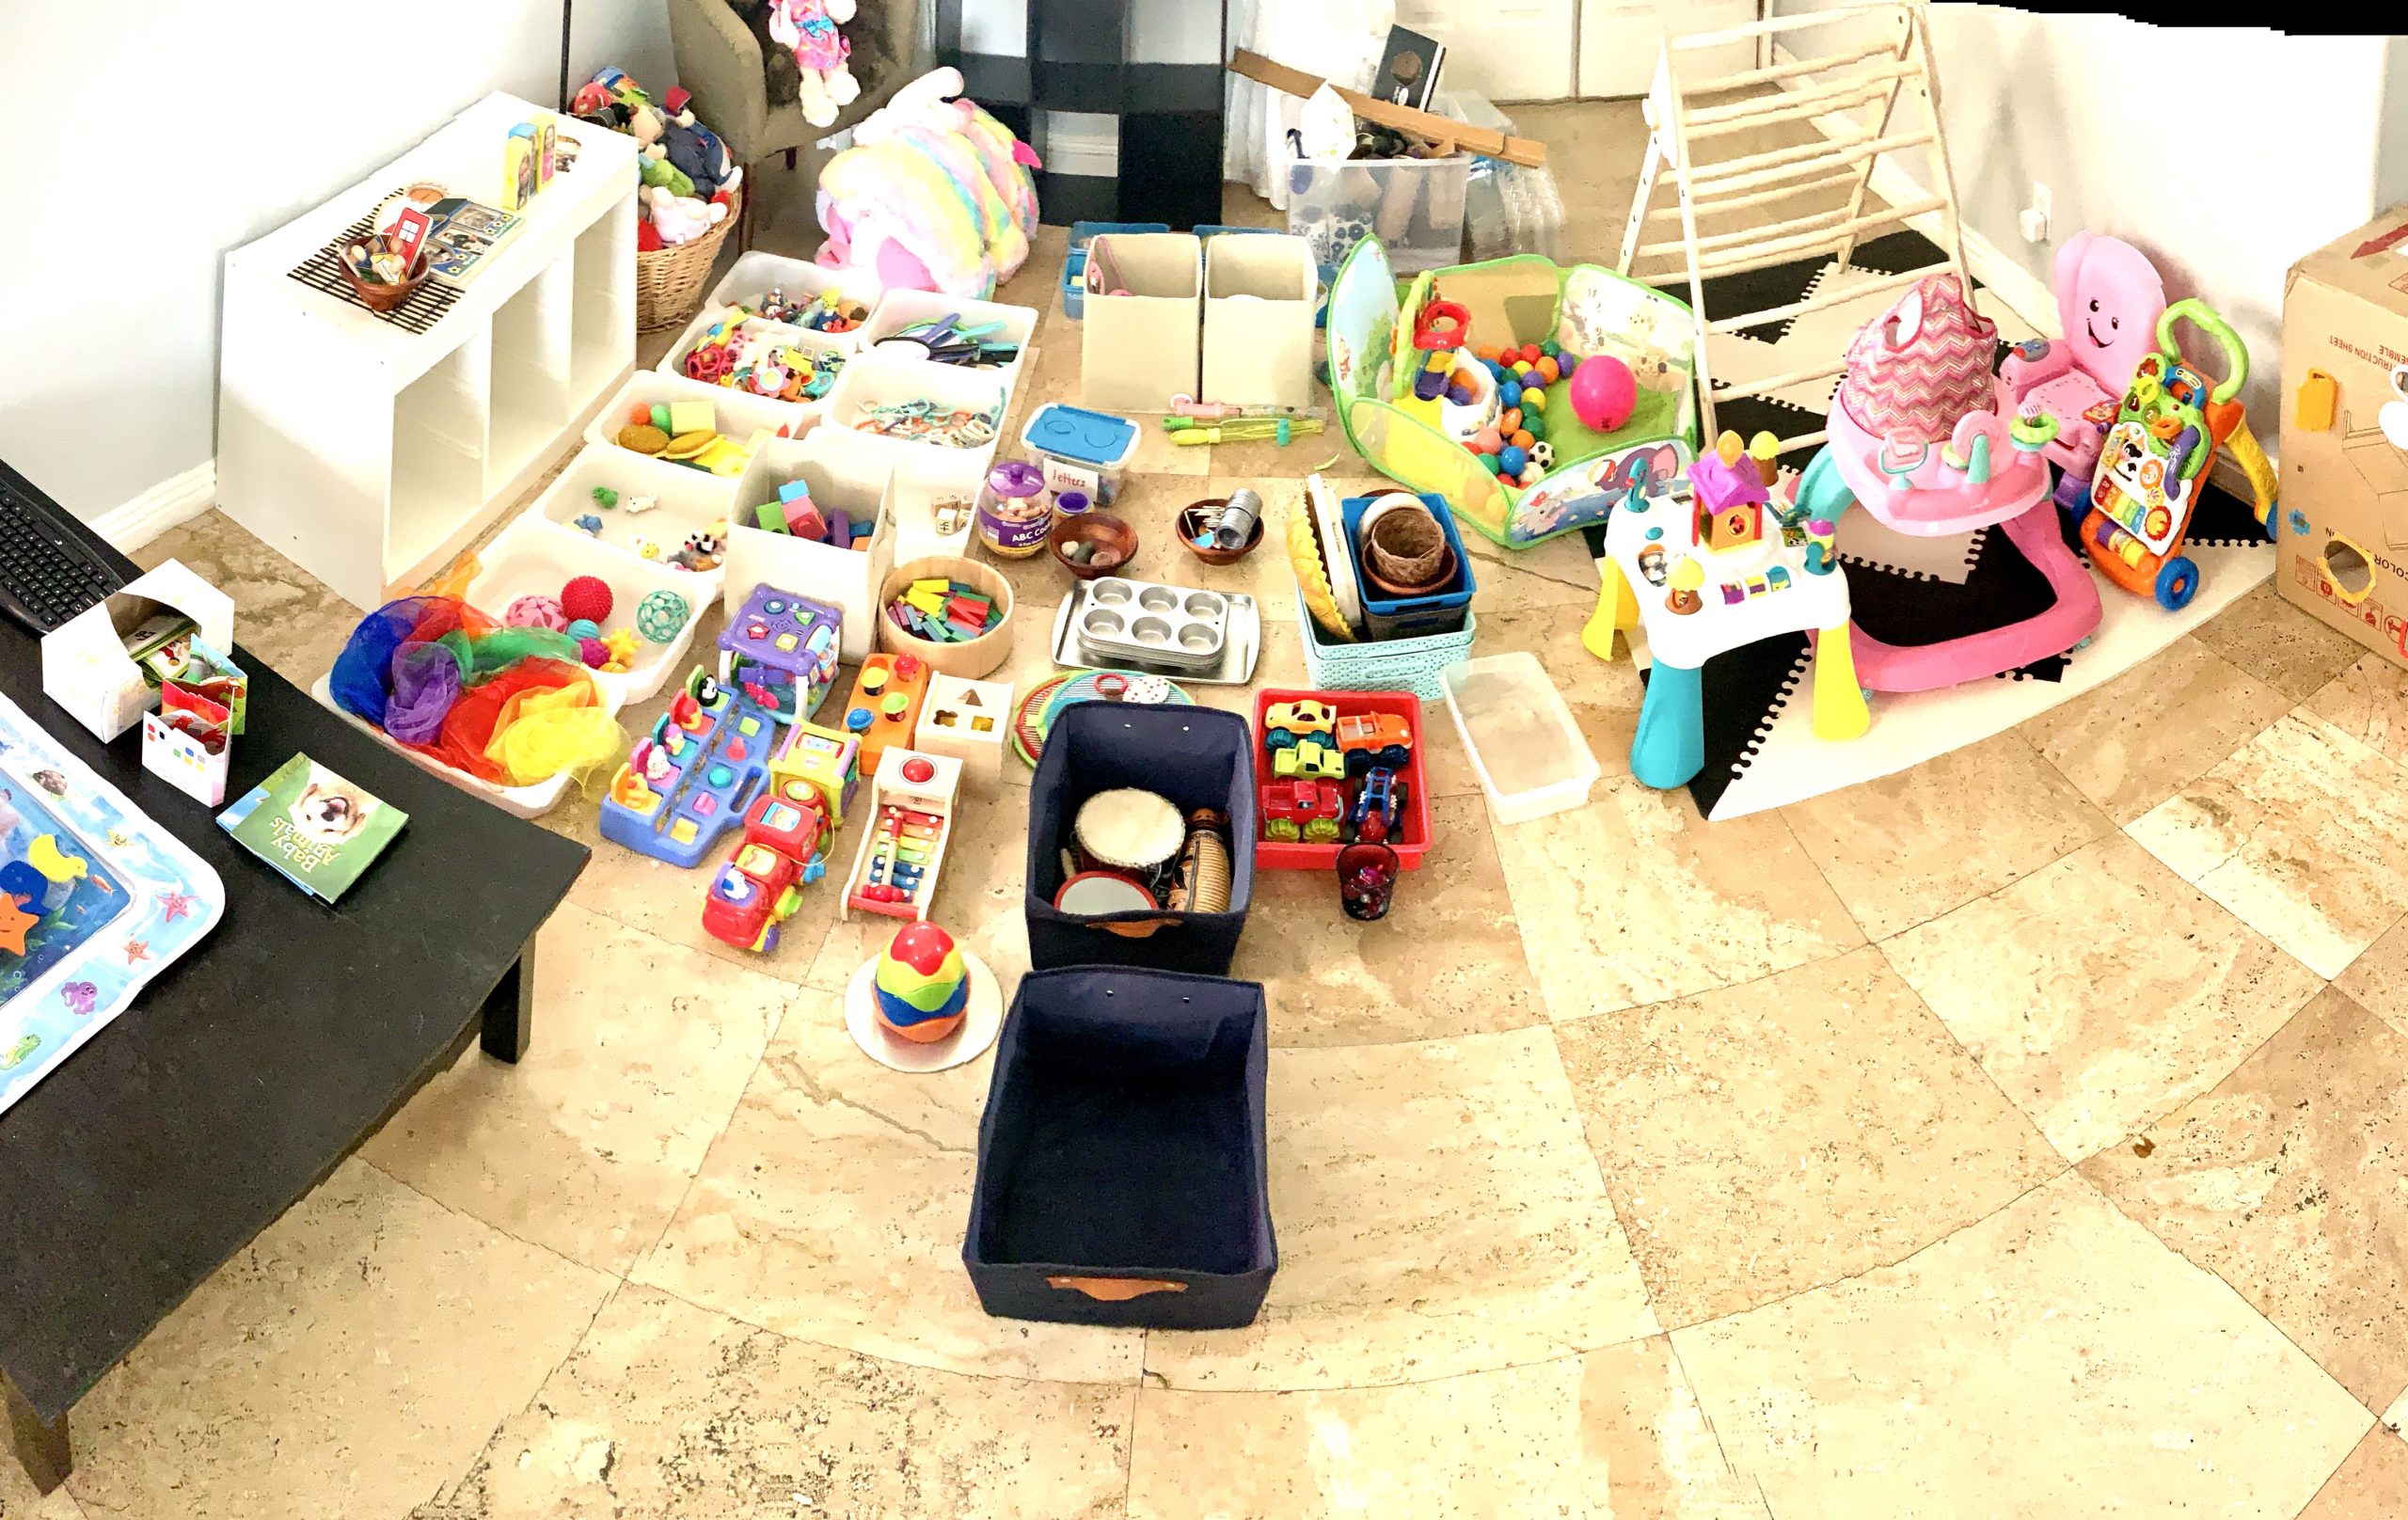
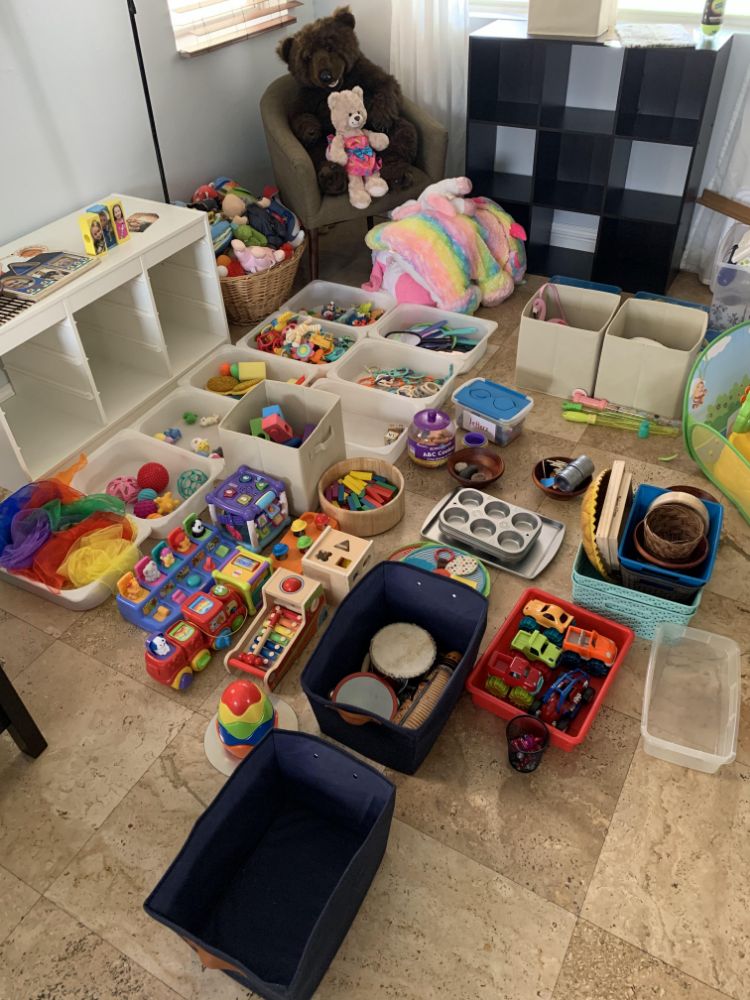
Step 1: Put all the toys you own in one area of the house
Gather all of the toys you have scattered about in the various locations of the house. Do not worry about organizing them, just pile them into one location.

Step 2: Organize toys into categories
Now is the time to sort the toys you have into categories. Make these categories work for you. They may not make sense to others, but those people don’t have to worry about rotating your toys. Some sample categories might include:
- Cars
- Blocks
- Stuffed Animals
- Loose parts
- Balls
- Puzzles
- Rattles
- Board games
- Animals
- Figurines
As a rule of thumb, if you have more than 3-5 of an item, make it a category.
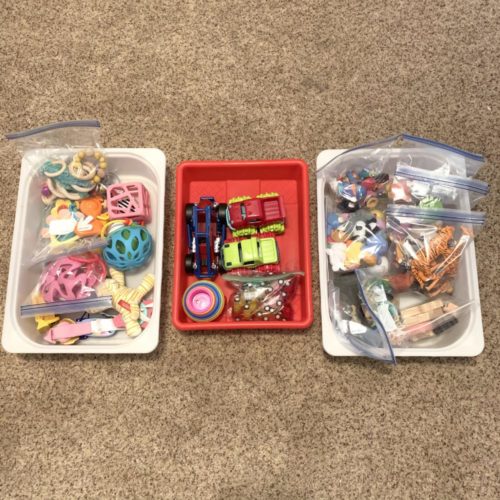
Step 3: Separate your categories into sets or types
Now you will take the categories from Step 2 and you will sort them further. For example you may have all your blocks together and now you will sort them into types of blocks (wood, foam, Legos, etc.). If you have a really large pile of one category then you probably need to sort it further. I did this with our teether/rattles. I sorted those further by material (sillicone, wood, noisy, etc.).
Step 4: Store them into containers
You might want to bag the subcategories and then place them all into one bin. I suggest you see what you have and have your categories sorted before you buy any storage bins. That way you only buy what you need.
Step 5: Decide what you will put out
Now you need to decide which toys to put out and which to store. You need to think of each of the play areas in your house. Maybe you have a playroom and store some toys in the living room. Think about what toys to put in each area and set them aside. This is the step where you want to minimize what you put out. It is easy when you see all the toys to want to put out a bunch of them because all of a sudden they feel new, even to you. Resist the urge and only put out a minimal amount of toys. Remember you will be putting out the other toys on a rotating basis, so they will get their time to shine. If you have a whole bin of animals or cars for example, try to only put out a subcategory (ie. ocean animals or choose 5-10 cars).
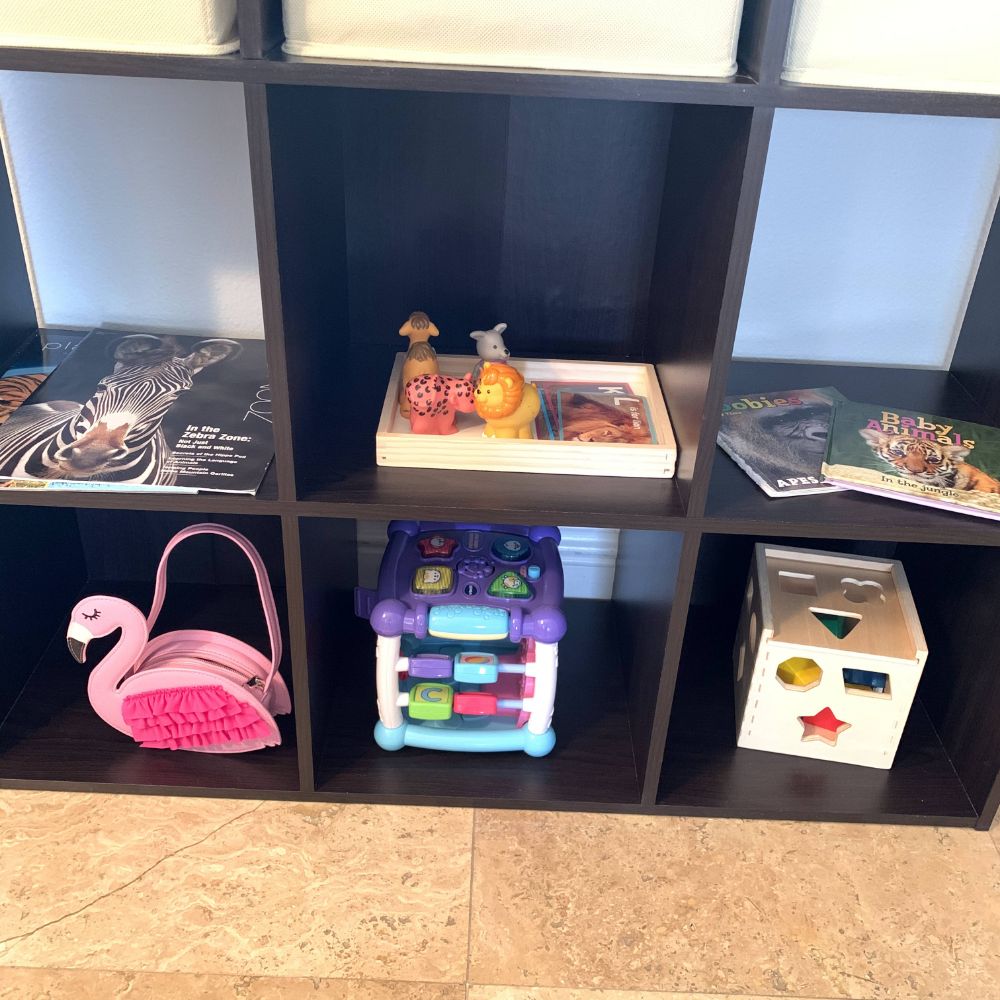
Step 6: Be intentional about how you put out your toys
A Montessori piece of advice that I enjoy when placing items on the shelf is to leave puzzles or activities (“work”) undone with the items to the left. This way the child will practice working from left to right, which develops the left to right progression for reading.
Having work undone also motivates a child towards that toy/activity. Who wants to do an already finished puzzle?
Also, make sure there is a purpose for the toy or item out. If you have loose parts or open-ended toys (Awesome!) make sure your child knows what to do with them.
Maybe there are car ramps next to the cars, containers for placing loose parts, or baby dolls next to blankets and bottles.
Try to limit the amount you put out on the shelf. Imagine you are in a toy boutique and there are only one or two toys displayed beautifully on the shelf to showcase the piece. Make your shelves look like that boutique. Less clutter equals more focus.
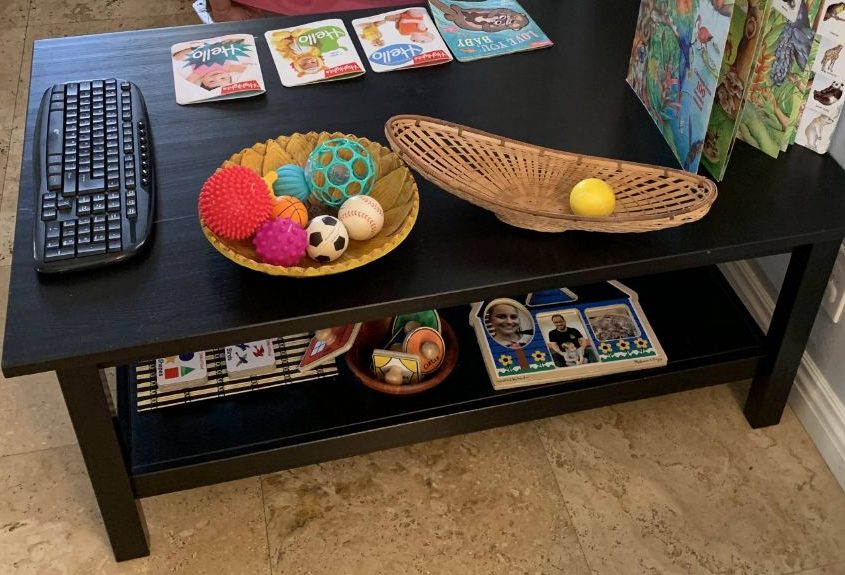
Some Great ways to showcase items on the shelf are with:

Wooden Trays
(Low trays allow the materials to be easily seen and chosen by the child and allow for transport to a different work area)

Plastic Trays
(Try to keep neutral colors so the colors of the materials can pop and provide interest)

Woven Baskets
(Great for small pieces like puzzle pieces, loose parts, cars, or figurines)

Wooden Bowls
(Great for small pieces like puzzle pieces, loose parts, cars, or figurines)

Rattan, Wicker, or Wooden Baskets
(Neutral colors and natural materials add beauty and allow the materials to provide the color and interest to the child)
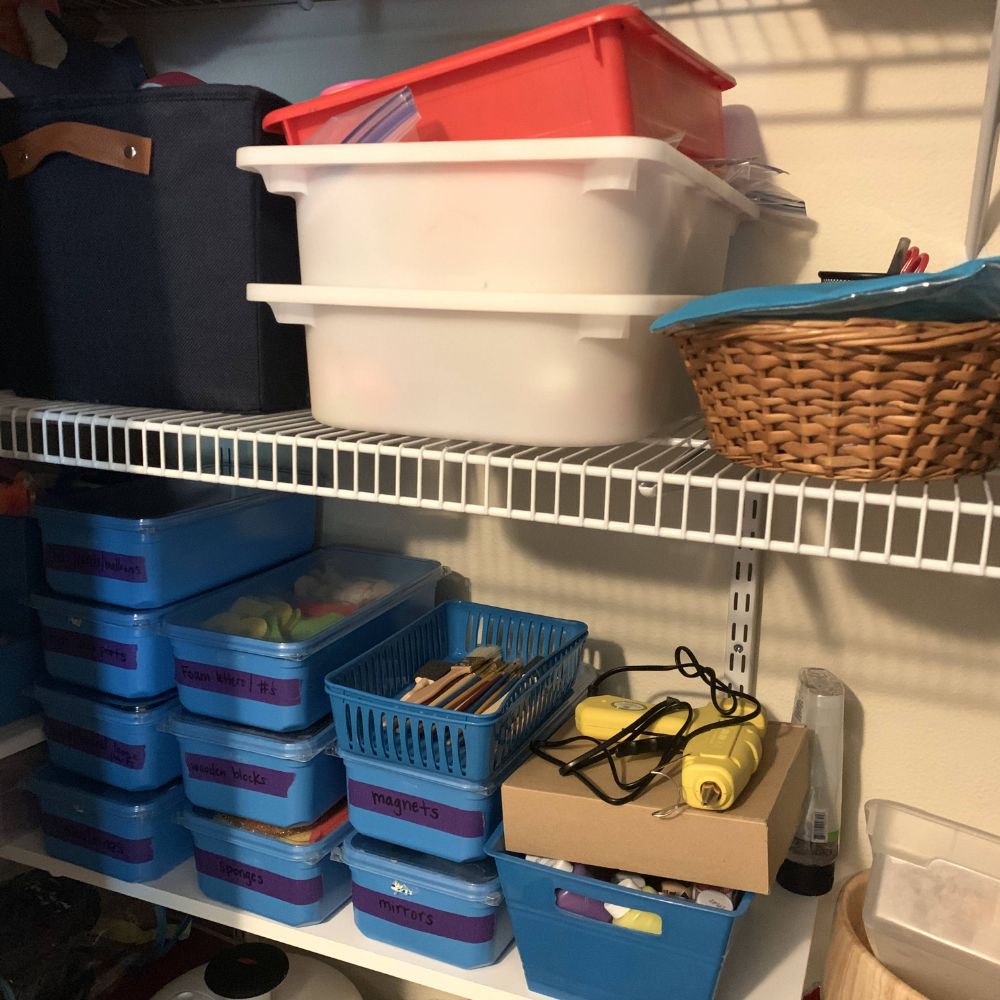
Step 7: Store the rest
Find a place where you can store the rest of the toys in an organized way for easy access. Label the bins so you can easily find what you need. Do not store them in a place that is not very easily accessible or it will give you more reasons to give up on your rotation plans. The keyword here is easy. If it is easy then you are more likely to follow through with rotating on a regular basis.
Step 8: Do not create a schedule
Creating a schedule forces you into only one way to rotate the toys and it invalidates the “why” behind doing a rotation. You want to inspire curiosity and keep things fresh for your child. You want to follow their lead and increase their engagement in the toys you already own. That means that sometimes you may find that your child is not interested in anything you put out. Don’t get offended, just put it away and choose something else to put out. Or maybe your child is super engaged with their cars. If you had a schedule you would feel the need to put the cars away and put something else out when that really isn’t necessary. There are times though when children get stuck in a rut and by default choose the same toy over and over again. Try to extend their play by putting something else out to inspire a different way to play with their favorite or put their favorite in a different location of the house.
I hope this step by step process has helped you out or you found some tips that have inspired you. You can also go to my story highlights on Instagram (@outsidethetoybox) to see a full tour of my toy rotation process and some of our previous shelf setups. Please let me know if you have any other questions in the comments below. I would love to help you out any way I can.
Share on facebook
Facebook
Share on pinterest
Pinterest
Share on email
Email
Share on print
Print
Please help to support my blogging efforts by sharing this post to others who may find some value in its contents.